The Critical Link: Lever Actuation and Internal Clutch Health
When riders search for how to replace clutch lever on harley davidson models, they are usually focused on the external aesthetics or fixing a bent lever from a minor tip-over. However, as an automotive and motorcycle transmission specialist, I must emphasize a critical reality: the clutch lever is the master controller of your primary drive. Errors made during a simple lever swap or the subsequent adjustment phase are the leading cause of premature internal clutch pack failure.
Whether you are working on a cable-actuated Evo, a Twin Cam, or the latest 2026 Milwaukee-Eight 117/121 engines, misunderstanding the relationship between the handlebar perch, the actuation method (hydraulic or cable), and the internal diaphragm spring will result in catastrophic slippage. This technical deep-dive explores the exact procedures for replacing your Harley's clutch lever while exposing the most common clutch replacement mistakes that stem from improper lever installation and adjustment.
Understanding Your Harley's Actuation System
Before turning a single wrench, you must identify your actuation type, as the mistakes associated with each are entirely different.
- Cable-Actuated Systems: Predominantly found on pre-2007 models, Sportsters, and specific aftermarket setups. These rely on a mechanical cable pulling a clutch release arm on the primary derby cover.
- Hydraulic-Actuated Systems: Standard on most 2007 and newer Touring, Softail, and Dyna models. These utilize a master cylinder at the lever perch that pushes DOT fluid through a braided or rubber line to a hydraulic slave cylinder (pushrod) inside the primary chaincase.
How to Replace Clutch Lever on Harley Davidson: The Technical Sequence
The physical removal of the lever is straightforward, but the preparatory and reassembly steps are where DIY mechanics compromise the clutch system. Here is the correct technical sequence:
- Protect the Switch Housing: Wrap the handlebar switch housing and brake master cylinder (if working near it) with microfiber shop towels. Painted and powder-coated switch housings on 2018+ Softails scratch if a wrench slips.
- Disconnect the Interlock & Cruise Wires: For hydraulic models, you must remove the banjo bolt or master cylinder assembly to access the lever pivot. Never pull the master cylinder away without securing the wiring harness for the starter interlock and cruise control modules.
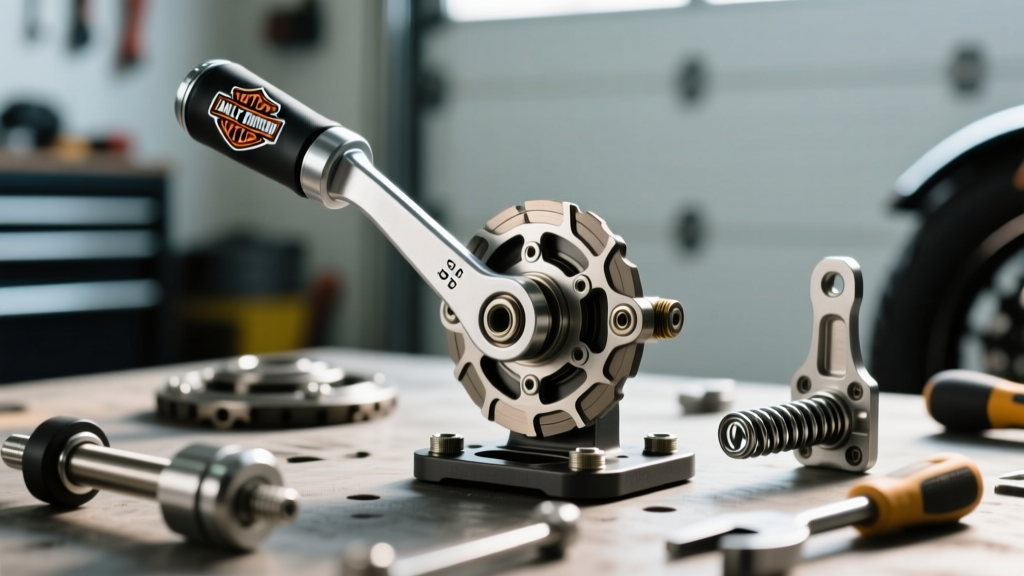
- Extract the Pivot Pin: Use a properly sized hex or Torx driver. If the pivot pin is seized due to galvanic corrosion (common when steel pins are used in aluminum levers), apply penetrating fluid and use gentle heat. Do not hammer the pin, or you will warp the master cylinder ear.
- Install and Torque: Lubricate the new pivot pin with a lithium-based white grease or specific motorcycle control lube. Install the lever and torque to factory specifications (detailed in the table below).
7 Common Clutch Replacement Mistakes Stemming from Lever Service
The subtopic of clutch replacement common mistakes is deeply intertwined with lever service. A $600 internal clutch replacement is often the direct result of a $40 lever install gone wrong. Here are the most frequent errors:
1. Zeroing Out the Freeplay (The 'Tight Lever' Mistake)
The most destructive mistake a rider can make is adjusting the clutch lever so there is zero freeplay. When the lever rests against the grip with tension, the hydraulic master cylinder piston or the cable actuator arm never fully returns to its resting detent. In hydraulic systems, this blocks the compensating port, trapping fluid pressure and keeping the internal clutch pack partially disengaged. In cable systems, it pre-loads the diaphragm spring. The result? The clutch slips under the massive torque of a Milwaukee-Eight engine, glazing the friction plates and burning out the steel steels in under 500 miles.
2. Mixing DOT 4 and DOT 5 Fluids During Hydraulic Bleeds
When replacing a hydraulic clutch lever assembly, you often introduce air into the master cylinder, requiring a bleed. Historically, Harley-Davidson used DOT 5 (silicone-based) fluid. Modern 2007+ models largely transitioned to DOT 4 (glycol-based). Mixing these two fluids causes a chemical reaction that turns the fluid into a sludgy gel, destroying the rubber seals in the slave cylinder and master cylinder. Always verify the cap stamping. If the fluid looks milky or purple when it should be amber/clear, the entire hydraulic system must be flushed and rebuilt.
3. Ignoring the Internal Pushrod Adjustment (Bottom-Up Method)
Replacing a cable lever requires resetting the clutch cable. The most common mistake is adjusting the cable at the handlebar adjuster barrel first. The correct bottom-up method requires you to: 1. Back off the handlebar adjuster completely. 2. Open the primary derby cover and adjust the internal clutch pushrod screw until it lightly seats, then back it out exactly 1/2 to 5/8 of a turn before locking the nut. 3. Finally, adjust the mid-cable barrel to achieve exactly 1/16" to 1/8" of freeplay measured at the outer edge of the lever blade.
4. Pinching the Starter Interlock Switch
Modern Harley-Davidson motorcycles feature a starter interlock switch and a cruise control disengage switch housed near the lever perch. When reinstalling the lever bracket or master cylinder, mechanics frequently pinch the delicate wiring against the aluminum handlebar. This results in a motorcycle that will not crank in gear, or a cruise control system that immediately disengages. Always route the wiring harness into the designated relief channel machined into the perch bracket.
5. Over-Torquing Aluminum Perch Bolts
The clutch lever perch is clamped to the steel handlebar using aluminum or soft-steel bolts. Using a standard 1/2" drive torque wrench often leads to over-torquing, stripping the threads or snapping the bolt head off. You must use a 1/4" drive inch-pound torque wrench. If the threads strip, you are forced to drill, tap, and install a Helicoil, or replace the entire $350+ master cylinder/perch assembly.
6. Failing to Bleed the Slave Cylinder Properly
If your lever replacement involved removing the hydraulic line, you must bleed the system. A common mistake is only bleeding at the master cylinder banjo bolt. Air rises, but the clutch slave cylinder is located low in the primary chaincase. You must use a vacuum bleeder (like a Motion Pro) at the master cylinder while ensuring the slave cylinder pushrod is fully depressed, or you will be left with a spongy lever that fails to fully disengage the clutch basket, causing gear crunching and premature wear on the transmission dogs.
7. Using Incorrect Friction Fluids in the Primary
While replacing the lever, many riders decide to 'top off' or change the primary chaincase fluid. Using standard automotive motor oil (which contains friction modifiers) instead of dedicated primary fluid (like Harley Formula+ or AMSOIL V-Twin Primary) will cause the new or existing clutch pack to slip. Primary fluids are specifically formulated without friction modifiers to allow the clutch plates to grab aggressively.
Technical Specifications & Torque Data Table
Precision is mandatory when working on Harley-Davidson control assemblies. Reference this data table during your 2026 service procedures.
| Component / Fastener | Specification / Torque | Notes & Warnings |
|---|---|---|
| Lever Pivot Pin (Hydraulic & Cable) | 108 - 132 in-lbs (9 - 11 ft-lbs) | Lubricate pin with white lithium grease. Do not overtighten. |
| Master Cylinder Clamp Bolts | 60 - 80 in-lbs | Tighten evenly in a crisscross pattern to avoid warping the clamp. |
| Internal Clutch Adjuster Locknut | 72 - 120 in-lbs | Hold the center screw with an Allen key while tightening the locknut. |
| Clutch Cable Freeplay (Lever Edge) | 1/16" to 1/8" (1.5mm - 3mm) | Measured at the outermost tip of the lever blade with engine OFF. |
| Hydraulic Fluid Type (2007+) | DOT 4 (e.g., Castrol SRF or OEM) | NEVER mix with DOT 5 Silicone. Hygroscopic; change every 2 years. |
| Primary Chaincase Fluid Capacity | 32 oz - 38 oz (Model Dependent) | Fill to the bottom edge of the clutch basket diaphragm spring. |
When Lever Issues Indicate Internal Clutch Failure
Sometimes, replacing the lever is a symptom, not the cure. If you install a new, high-quality billet lever and properly adjust the freeplay, but the lever still feels 'notchy', stiff, or fails to disengage the transmission, you likely have an internal mechanical failure.
According to technical service bulletins and experts at Barnett Clutches & Cables, a warped clutch basket or a broken diaphragm spring tab will mimic the feeling of a poorly adjusted lever. If the clutch basket fingers develop deep grooves from the friction plate tabs, the plates will hang up and refuse to separate when you pull the lever. In this scenario, no amount of external lever adjustment will fix the issue; a complete teardown of the primary drive and a full clutch pack replacement is mandatory.
Final Diagnostic Thoughts
Learning how to replace clutch lever on harley davidson motorcycles is a fundamental skill for any owner. However, treating it as a mere cosmetic swap rather than a critical transmission control adjustment is a recipe for disaster. By respecting the torque specifications, adhering to the bottom-up cable adjustment methodology, and maintaining strict hydraulic fluid purity, you protect the internal clutch pack from the most common and costly DIY mistakes. For deeper community troubleshooting and model-specific wiring diagrams for your interlock switches, the archives at HD Forums remain an invaluable resource for Harley technicians and DIYers alike.
Always consult the official Harley-Davidson Owner's Manuals portal for the exact fluid capacities and torque specifications unique to your specific VIN and model year before beginning any primary drive service.