The Evolution of Heavy-Duty Drivetrains: Why Adjustment Matters
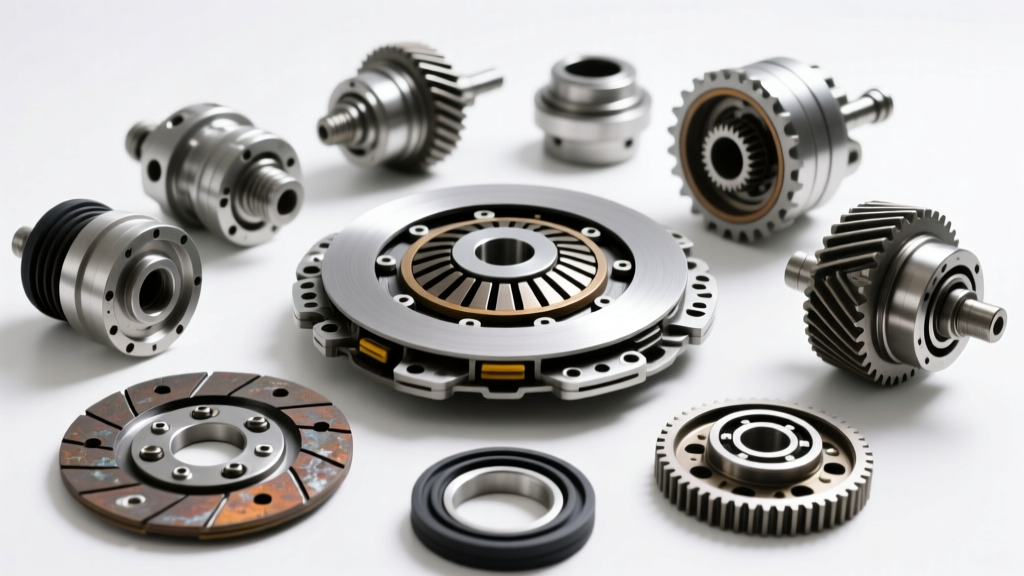
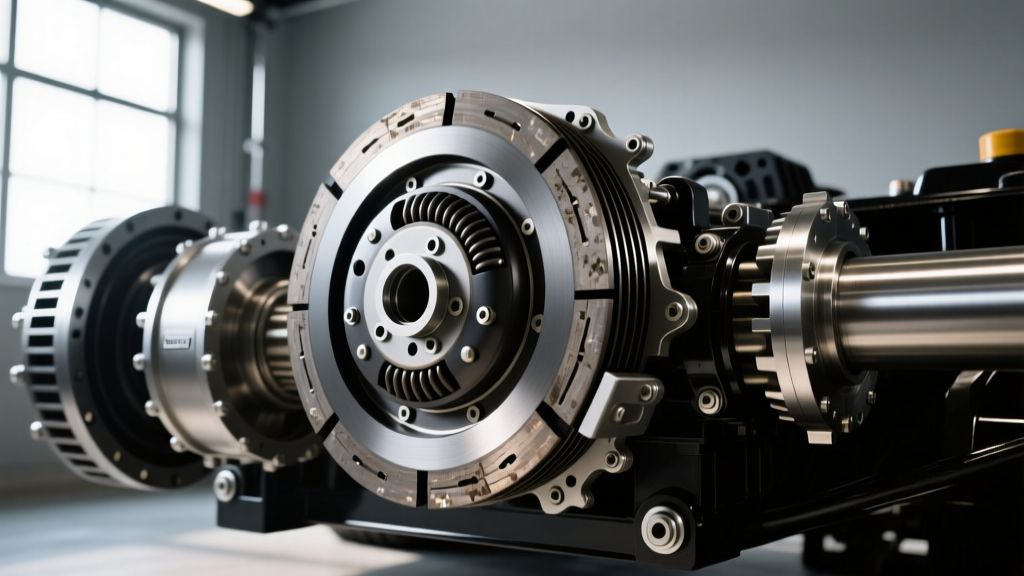
In the high-stakes world of Class 8 commercial trucking and heavy-haul performance, the drivetrain is subjected to immense torsional stress. While automated manual transmissions (AMTs) like the Eaton Endurant HD have captured significant market share by 2026, the manual 18-speed Eaton Fuller RTLO-18918B remains a legendary staple for owner-operators, heavy-haul specialists, and performance diesel enthusiasts. At the heart of this mechanical synergy is the clutch assembly. Proper Eaton clutch adjustment is not merely a maintenance suggestion; it is the critical threshold between seamless torque transfer and catastrophic drivetrain failure.
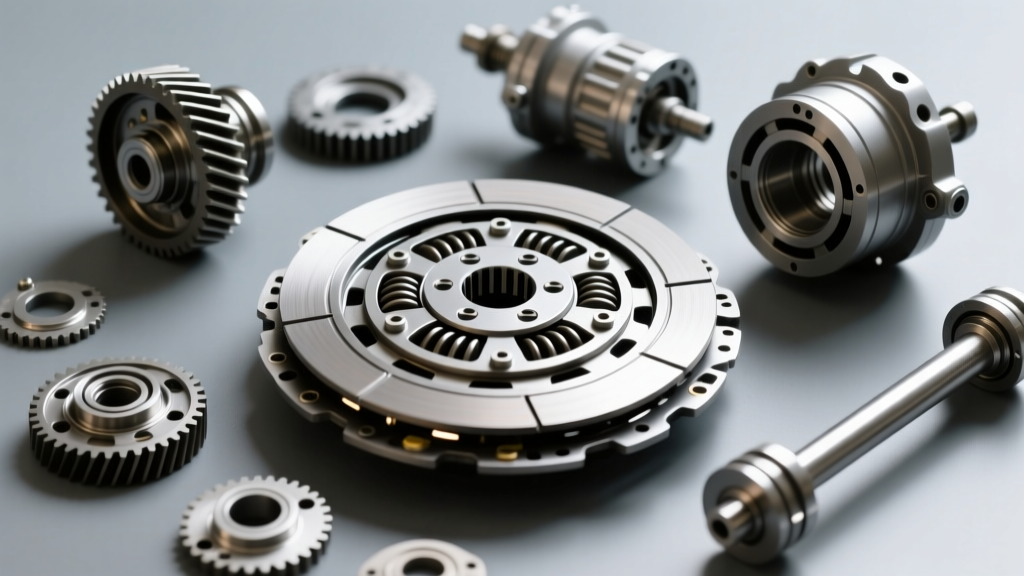
When upgrading a heavy-duty truck to handle increased torque outputs—such as pairing a tuned Cummins X15 Efficiency Series (pushing beyond 2,050 lb-ft) with an aftermarket performance clutch—precision adjustment becomes paramount. A high-torque cerametallic disc requires exact clamp loads. If the internal adjusting ring on an Eaton Solo or Advantage clutch is off by even a single notch, the clamp load drops, causing micro-slip under heavy load, glazing the friction material, and ultimately destroying the flywheel and transmission input shaft.
Diagnosing Pre-Upgrade Clutch Failure Modes in Class 8 Trucks
Before initiating a performance upgrade, fleet mechanics and owner-operators must accurately diagnose existing clutch symptoms. Misdiagnosing a simple adjustment issue as a worn friction disc can lead to unnecessary teardowns and thousands of dollars in wasted parts.
Common Symptoms of Maladjusted Eaton Clutches
- Gear Clashing on Stationary Shifts: If the clutch brake squeeze is insufficient (less than 1/2 inch at the pedal), the input shaft fails to stop spinning, making it nearly impossible to engage first gear or reverse from a dead stop without grinding.
- False Neutrals and Driveline Lash: Excessive free travel prevents the release bearing from fully engaging the diaphragm spring, leading to incomplete clutch disengagement and severe gear rattle at idle.
- Release Bearing Squeal Under Load: A squeal that occurs when the pedal is *released* and the truck is under heavy acceleration indicates zero free travel. The release bearing is being crushed against the diaphragm spring fingers, leading to rapid bearing disintegration and eventual clutch lock-up.
- Pedal Stiffness and Linkage Bind: Often mistaken for a failing pressure plate, a stiff pedal on a mechanical linkage system usually points to a worn cross-shaft bushing, a seized clutch brake, or an over-adjusted internal ring that has maxed out the spring's mechanical advantage.
Performance Upgrade Pathways: Solo vs. Advantage Series
When upgrading from a standard organic clutch to handle higher gross combined weight ratings (GCWR) or aggressive tuning, selecting the correct Eaton platform is vital. The Eaton Solo series utilizes a single-plate or two-plate design with an internal adjusting ring, while the Advantage series introduces advanced damper technologies and higher-tolerance cerametallic materials designed for extreme thermal cycling.
| Feature | Eaton Solo 15.5" (KFM-155) | Eaton Advantage 15.5" (KFD1552) | Competitor Meritor Easy-Pedal |
|---|---|---|---|
| Max Torque Rating | Up to 2,050 lb-ft | Up to 2,250 lb-ft | Up to 1,850 lb-ft |
| Friction Material | Organic / Standard Ceramic | Advanced Cerametallic | Organic High-Temp |
| Est. Kit Cost (2026) | $1,900 - $2,400 | $2,600 - $3,200 | $1,700 - $2,100 |
| Adjustability Method | Internal Adjusting Ring | Internal Ring / Wear Indicator | External Linkage Only |
| Clutch Brake Type | Standard 2-Piece (15-304) | Heavy-Duty Kevlar-Infused | Standard Composite |
Step-by-Step Eaton Clutch Adjustment Protocol
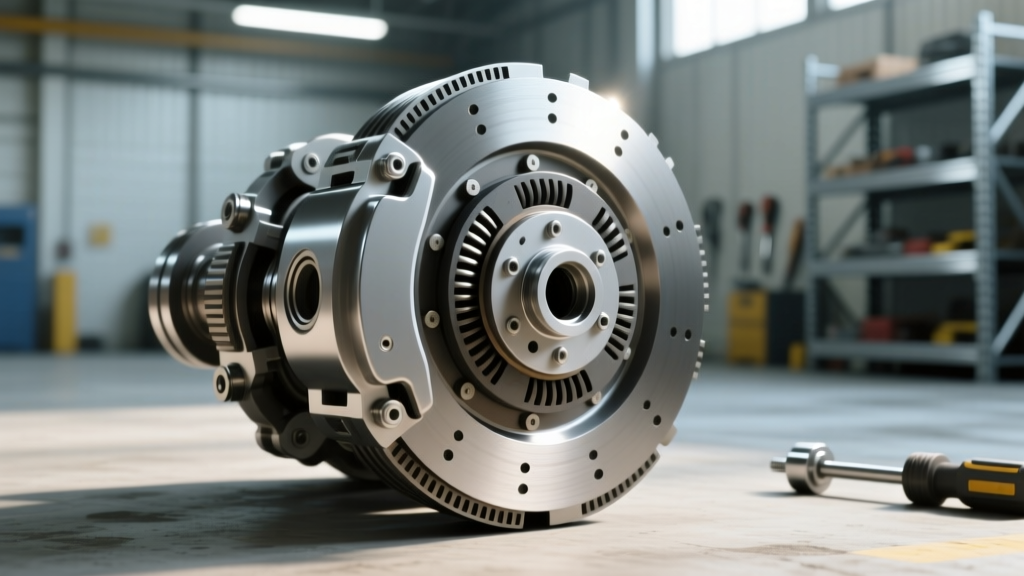
Performing a precise Eaton clutch adjustment requires specialized tooling and a strict adherence to factory tolerances. The following protocol applies to the ubiquitous Eaton Solo 14-inch and 15.5-inch clutches paired with manual Fuller transmissions.
1. Measuring and Setting Clutch Brake Squeeze
The clutch brake is responsible for halting the transmission input shaft to allow for stationary gear engagement. The 'squeeze' is the distance the pedal travels after the release bearing makes contact with the clutch brake.
- Depress the clutch pedal until you feel a distinct, firm resistance. This is the point where the release bearing contacts the clutch brake.
- Measure the distance from the bottom of the pedal to the floor (or firewall stop). The pedal must travel an additional 1/2 inch to 3/4 inch (12.7mm - 19.0mm) past this resistance point before hitting the floor or stop.
- If the squeeze is incorrect, access the clutch cover inspection plate. Using the Eaton Solo Adjustment Tool (Part # 10-303) or a heavy-duty strap wrench, rotate the internal adjusting ring. Turning the ring clockwise (viewed from the rear) typically increases squeeze, while counter-clockwise decreases it. Adjust in single-notch increments and re-measure.
2. Dialing in Free Travel and Release Bearing Clearance
Free travel ensures the release bearing is not dragging against the diaphragm spring fingers during normal highway cruising, which would cause parasitic drag and premature bearing failure.
- At the Release Bearing: With the clutch fully engaged (pedal released), there must be exactly 1/8 inch (3.2mm) of free play between the release bearing face and the clutch brake/diaphragm spring fingers. This is measured at the cross-shaft lever.
- At the Pedal: This 1/8 inch at the bearing translates to approximately 1/2 inch to 1 inch of free travel at the top of the clutch pedal before hydraulic or mechanical resistance is felt.
- Adjust the external linkage (clevis and pin at the cross-shaft) or the hydraulic master cylinder pushrod to achieve this spec. Never use the internal adjusting ring to set free travel; the ring is strictly for clutch brake squeeze and wear compensation.
Pro-Tip for Heavy-Haul Fleets: When upgrading to an Eaton Advantage cerametallic disc, the initial break-in period requires slightly more aggressive clutch brake squeeze (closer to the 3/4 inch max spec) to compensate for the initial seating of the aggressive friction material against the cast-iron flywheel. Monitor and readjust after the first 500 miles.
Torque Specifications and Bellhousing Alignment
A perfect clutch adjustment will fail rapidly if the bellhousing is misaligned or if fastener torque specs are ignored. Misalignment causes the release bearing to travel at an angle, wearing out the transmission input shaft pilot bearing and causing severe clutch chatter under load.
Critical Torque Specs for Class 8 Applications (Cummins X15 / Detroit DD15)
- Flywheel to Crankshaft Bolts: 185 lb-ft + 90 degrees of rotation (Always use new OEM stretch bolts; never reuse). Apply a medium-strength threadlocker.
- Clutch Cover to Flywheel: 35 - 45 lb-ft in a star pattern. Use a clutch alignment tool (mandrel) specific to the transmission input shaft spline (e.g., 2-inch 10-spline for most RTLO models) to prevent binding.
- Bellhousing to Engine Block: 35 - 45 lb-ft. Critical Step: Use a dial indicator to check bellhousing bore runout. Maximum allowable runout is 0.008 inches (0.20mm). If runout exceeds this, install offset dowel pins to correct the alignment before final torque.
- Cross-Shaft Bracket to Block: 45 lb-ft. Ensure the cross-shaft bushings are fully lubricated with high-temperature synthetic grease (e.g., Mobilgrease XHP 222) to prevent linkage bind.
Sourcing and Cost Breakdown for 2026 Fleet Upgrades
As supply chains have stabilized in 2026, pricing for heavy-duty performance clutches has normalized, though premium cerametallic kits command a premium. When sourcing parts, always verify the Eaton part number against your specific transmission bellhousing depth (SAE 1 vs. SAE 2). A standard Eaton Solo 15.5" kit (Part # KFM-155) typically retails between $1,900 and $2,400, while the heavy-duty Advantage series (Part # KFD1552) ranges from $2,600 to $3,200. Do not forget to factor in the cost of a resurfaced or replaced dual-mass or rigid flywheel ($600 - $1,200), as installing a high-torque cerametallic disc on a glazed or warped flywheel will void the manufacturer warranty and cause immediate chatter.
For comprehensive service manuals, torque charts, and diagnostic flowcharts, technicians should consult the Roadranger Service Manuals portal and reference the latest technical bulletins on the Eaton Clutch Systems Portal. Additionally, staying updated on fleet maintenance trends via Commercial Carrier Journal's parts and maintenance section can help shop managers optimize their upgrade intervals and reduce unexpected roadside downtime.
Final Thoughts on Drivetrain Longevity
Mastering Eaton clutch adjustment is a hallmark of a true heavy-duty diesel technician. By understanding the intricate relationship between the internal adjusting ring, the clutch brake squeeze, and the release bearing free travel, you ensure that your commercial truck or heavy-haul rig can reliably transfer massive torque to the pavement. Whether you are rebuilding a classic 18-speed for a show truck or upgrading a fleet of line-haul tractors for maximum efficiency, precision adjustment is the ultimate performance upgrade.