Introduction to the AAM 11.5-Inch Axle Rebuild
The 2006 Dodge Ram 2500 is a heavy-duty workhorse, typically equipped from the factory with the robust American Axle Manufacturing (AAM) 11.5-inch rear axle. Whether paired with the 5.7L Hemi V8 or the legendary 5.9L Cummins turbo diesel, this axle is designed to handle massive towing loads. However, high mileage, heavy towing, and aggressive use eventually degrade ring and pinion gear clearances and bearing tolerances. Rebuilding this differential is not a simple swap; it requires precision measuring tools, specialized pullers, and a strict adherence to factory torque specifications.
As a senior drivetrain technician, I have rebuilt dozens of AAM 11.5-inch axles. In this comprehensive guide, we will walk through the complete teardown, setup, and reassembly process. Crucially, we will also address a highly searched metric that often causes confusion during the final reassembly phase: the exact fluid volume required to properly lubricate a completely dry axle housing.
Essential Tools and Rebuild Components
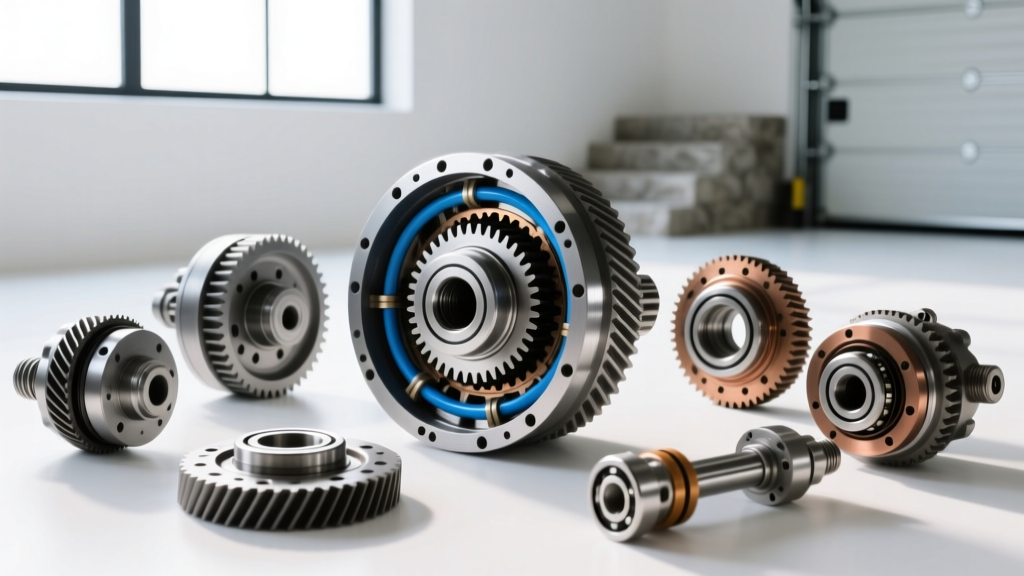
Before unbolting the driveshaft, you must gather the correct components. Do not reuse old crush sleeves or bearing races. For the AAM 11.5-inch axle, you will need specific Timken bearing sets to ensure longevity under heavy loads.
| Component / Tool | Specification / Part Number | Purpose |
|---|---|---|
| Pinion Bearings | Timken SET 34 (Inner & Outer) | Supports pinion gear rotational load |
| Carrier Bearings | Timken SET 36 (x2) | Supports differential carrier and ring gear |
| Master Overhaul Kit | Yukon Gear YK AAM11.5-11 | Includes shims, seals, crush sleeve, ring bolts |
| Torque Wrench (Inch-Pound) | Beam or Dial type (0-50 in-lbs) | Measuring pinion bearing rotational preload |
| Dial Indicator | 0.001-inch resolution | Setting ring and pinion backlash |
| Gear Marking Compound | Yellow / White Lithium Paste | Verifying tooth contact pattern |
For authoritative reference on bearing tolerances and interchangeability, always consult the Timken bearing specifications catalog to verify you have received genuine components, as counterfeit bearings are a known issue in the heavy-duty truck market.
Phase 1: Teardown and Case Inspection
Begin by draining the existing gear oil and removing the rear cover. Inspect the fluid for metallic glitter or large chunky debris. Fine magnetic paste on the drain plug is normal; large chunks of spider gear or thrust washer material indicate catastrophic failure.
Remove the driveshaft, brake calipers, rotors, and the 8-bolt axle shafts. The AAM 11.5-inch uses bolt-in axle shafts, meaning you do not have to deal with internal C-clips like you would on a lighter-duty Chrysler 8.25 or 9.25 axle. Once the shafts are out, unbolt the differential carrier bearing caps. Critical Step: The bearing caps are line-bored with the main axle housing at the factory. They are not interchangeable. Mark them 'Left' and 'Right' with a center punch or paint pen before removal. Remove the carrier assembly and pull the pinion gear from the housing using a specialized pinion puller to avoid damaging the housing bore.
Phase 2: Setting Pinion Depth and Bearing Preload
Pinion depth dictates how deeply the pinion gear meshes into the ring gear. This is adjusted via a selective shim placed between the inner pinion bearing cup and the housing bore. The target depth variance is typically stamped on the head of the pinion gear (e.g., +0.002 or -0.001). Use a dedicated pinion depth setting tool block to measure this distance precisely with a micrometer.
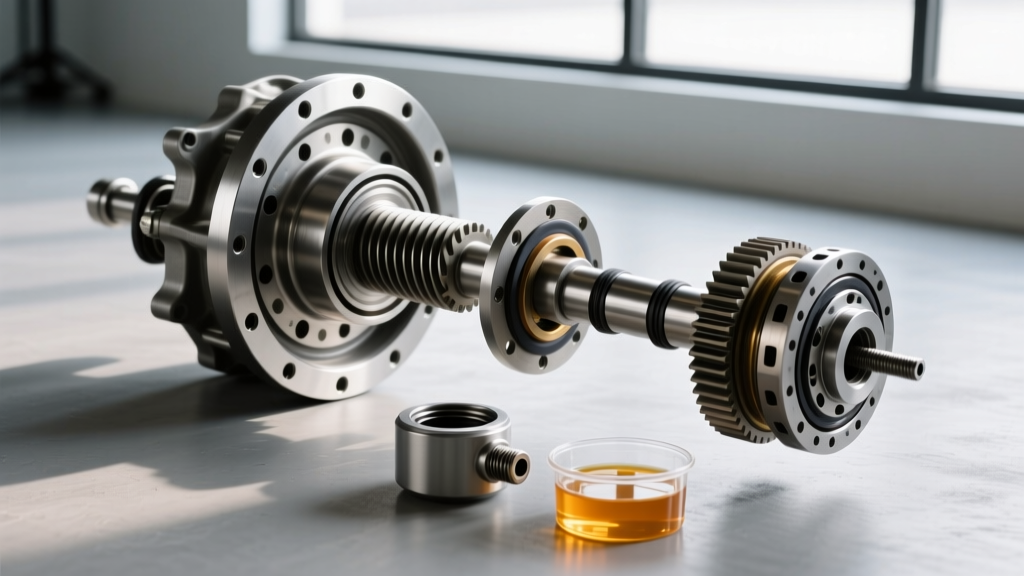
Once the depth shim is installed and the inner bearing is pressed on, install the pinion into the housing. Next, you must set the pinion bearing preload. If you are using the factory-style crush sleeve, you will need to install a new yoke and torque the massive pinion nut to approximately 250-290 ft-lbs while checking rotational drag with your inch-pound torque wrench. The target preload for new bearings is 20 to 25 inch-pounds of rotational drag. Because crushing a sleeve requires immense, sudden torque, many heavy-duty builders opt for a Solid Spacer Eliminator Kit. This replaces the one-time-use crush sleeve with a machined steel spacer and a wave washer, allowing you to set preload perfectly without the risk of over-crushing and having to start over with a new sleeve.
Phase 3: Carrier Shimming and Backlash Adjustment
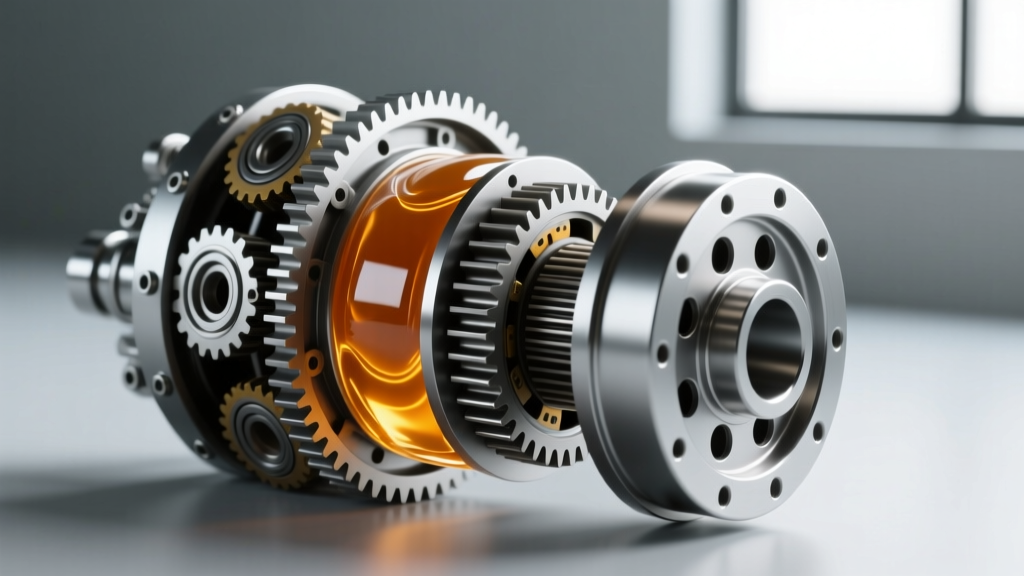
Press the new Timken SET 36 carrier bearings onto the differential case. Bolt the ring gear to the case using new ring gear bolts. Apply a high-strength threadlocker like Loctite 272 to the bolts and torque them to 125 ft-lbs in a star pattern to ensure even clamping force.
Install the carrier into the housing with the bearing cups. Backlash—the tiny amount of rotational play between the ring and pinion teeth—must be set using the side carrier shims. For the AAM 11.5-inch axle, the target backlash is between 0.008 and 0.012 inches. Mount your dial indicator to the housing, resting the plunger perpendicular to a ring gear tooth heel. Adjust the left and right shims until you hit the 0.010-inch sweet spot. Torque the carrier bearing caps to 70-90 ft-lbs.
Apply gear marking compound to three separate sections of the ring gear and rotate the assembly to read the contact pattern. A perfect pattern will be centered on the tooth face, slightly biased toward the heel under drive, and shifting slightly toward the toe on coast. If the pattern is high on the tooth (face), you must increase pinion depth. If it is low on the tooth (flank), decrease pinion depth. Never ignore a poor pattern; it will result in gear whine within 500 miles.
Phase 4: Sealing and the 2006 Dodge Ram 2500 Rear Differential Fluid Capacity
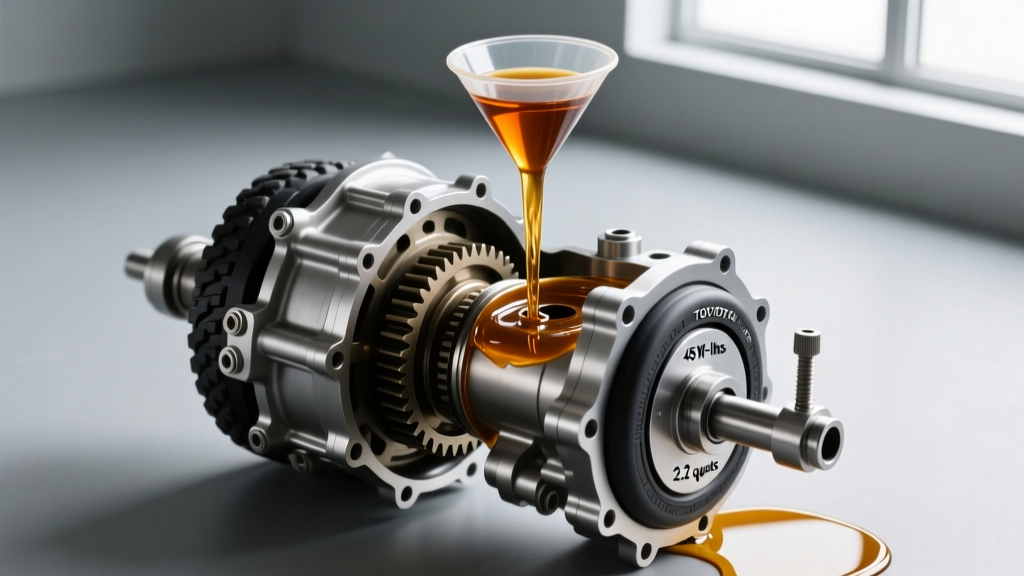
With the internal components assembled, the axle shafts reinstalled, and the differential cover sealed with a high-tack RTV silicone (allowing 12 hours of cure time), the final mechanical step is lubrication. Many enthusiasts and technicians frequently search for the exact 2006 Dodge Ram 2500 rear differential fluid capacity, but the answer depends heavily on the service context.
When performing a standard drain-and-fill service via the fill plug, the AAM 11.5-inch axle typically accepts about 2.5 to 3.0 quarts of fluid. However, during a complete differential rebuild, the housing has been entirely stripped, cleaned, and dried. The total dry-fill 2006 Dodge Ram 2500 rear differential fluid capacity is approximately 3.5 to 3.7 quarts (3.3 to 3.5 liters).
You must fill the axle with a high-quality 75W-90 Synthetic API GL-5 gear oil. Products like AMSOIL Severe Gear 75W-90 or Mopar Synthetic Gear Lubricant are highly recommended for their thermal stability under heavy towing conditions. Pump the fluid into the fill hole until it begins to trickle out the bottom edge of the threads. Reinstall the fill plug and torque it to 25 ft-lbs.
Warning: Do not intentionally overfill the differential past the fill plug hole under the false assumption that 'more is better.' Overfilling leads to severe fluid churning, rapid temperature spikes, and internal pressure buildup that will blow out your newly installed axle shaft seals and pinion seal.
Phase 5: Gear Break-In Procedure
New ring and pinion gears require a proper break-in cycle to mate the metallurgical surfaces and prevent overheating. Drive the truck on the highway for 15 to 20 miles at speeds no exceeding 55 MPH. Pull over and allow the axle to cool for 30 to 45 minutes. Repeat this heat-and-cool cycle three times. It is completely normal for the differential housing to be hot to the touch during this process, but if it is smoking or too hot to keep your hand on, the pinion preload is too tight or the backlash is incorrect. Finally, plan for your first post-rebuild fluid drain-and-fill at the 500-mile mark to remove the initial metallic break-in particulate from the housing.