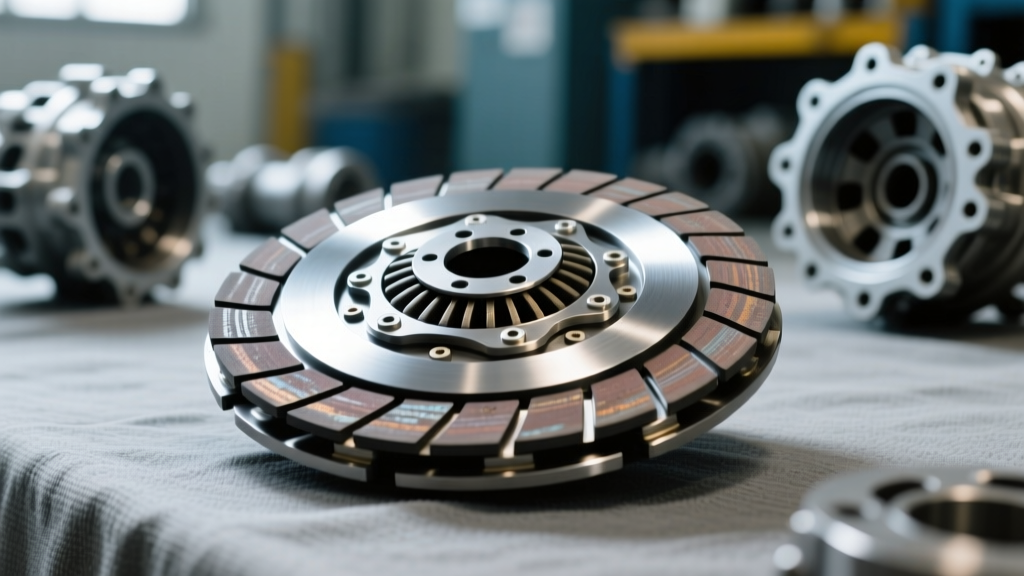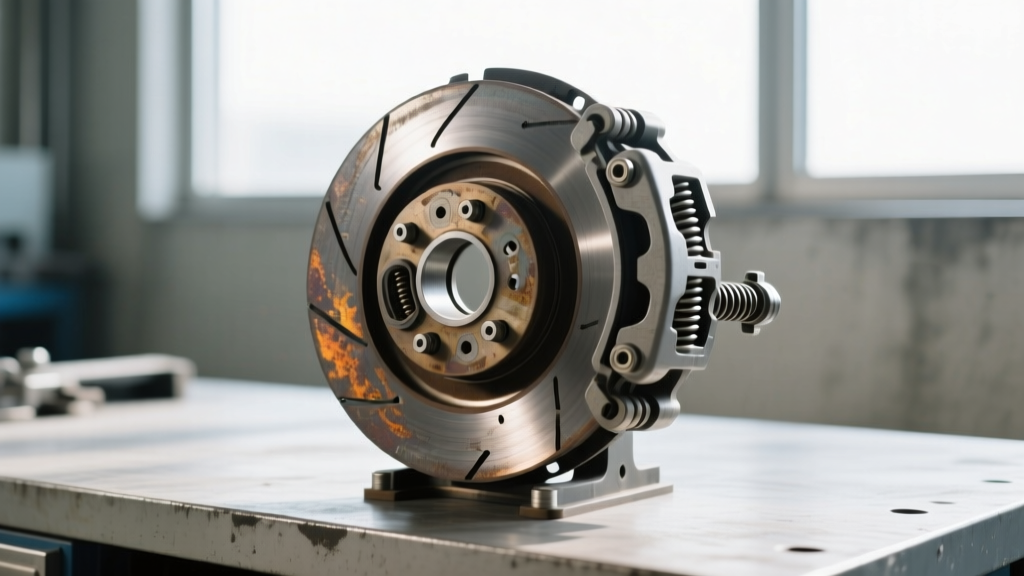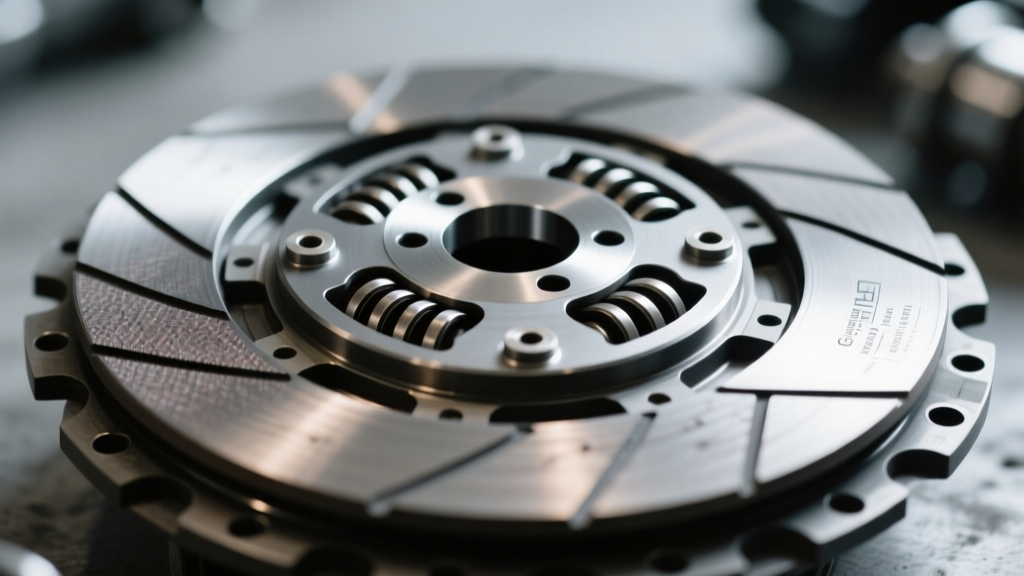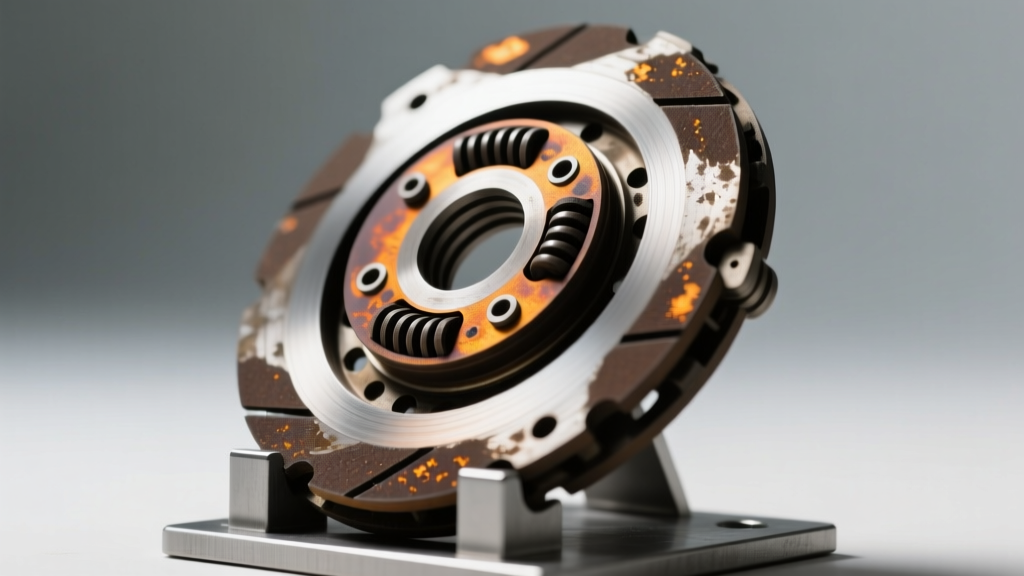
The GM 4L60E transmission remains one of the most prolific automatic overdrive units in automotive history. Even in 2026, it is a staple in restomod builds, heavy-duty truck swaps, and budget track cars. However, every experienced transmission builder knows the platform's Achilles heel: the 3-4 clutch pack. When a 4L60E loses third and fourth gears, the immediate reaction is often to simply replace the burnt frictions and steels. But as any master machinist will tell you, swapping parts without diagnosing the failure is a guarantee of a comeback. To truly fix the issue, you must learn to read the 4L60 3-4 clutch pack wear patterns.
The Anatomy of a 3-4 Clutch Failure
The 3-4 clutch pack is located inside the input drum assembly. It is responsible for locking the turbine shaft to the input sun gear during the 3-4 shift. Because this shift occurs at higher vehicle speeds and often under significant throttle load, the clutch pack must absorb a massive amount of rotational energy. When the hydraulic apply circuit falters, or when mechanical clearances drift out of spec, the resulting micro-slipping generates catastrophic heat. By examining the specific wear patterns on the friction discs, steel separator plates, and the clutch hub, we can reverse-engineer the exact root cause of the failure.
Reading the Friction: A Visual Diagnostic Guide
When you pull the input drum from the case and disassemble the 3-4 clutch hub, lay the friction discs and steels out in order. Do not clean them immediately; the debris and discoloration hold vital clues. Here are the three most common wear patterns and what they tell you about the transmission's health.
Pattern 1: Concentric Heat Spotting and Glazing
Visual Cue: The steel separator plates exhibit distinct blue or black concentric rings (often called "blue steels"). The friction material is not entirely burnt away but appears shiny, hardened, and glazed. The outer edges of the frictions may show slight charring.
Root Cause: This is the classic signature of hydraulic micro-slipping. The clutch is engaging, but line pressure is dropping during the shift event. In the 4L60E, this is almost always caused by cross-leaks in the valve body—specifically at the 3-4 shift valve bore or the 3-4 relay valve. It can also indicate a leaking 3-4 accumulator circuit, where fluid volume is lost before it can fully stroke the 3-4 apply piston.
Expert Fix: Do not just replace the clutches. You must ream the valve body bores and install an oversized valve kit. According to engineering bulletins from Sonnax, worn valve body castings are the leading cause of repeated 3-4 clutch failures. Additionally, inspect the 3-4 accumulator pin and bore in the transmission case for wear.
Pattern 2: Asymmetrical Edge Wear and Taper
Visual Cue: The friction material is worn completely down to the steel core on one side of the disc, while the opposite side retains 70-80% of its original thickness. The steel plates may show corresponding uneven polishing.
Root Cause: Asymmetrical wear indicates that the clutch pack is not being applied squarely. This is typically caused by a warped backing plate, a scored aluminum piston bore that causes the 3-4 apply piston to cock sideways, or a damaged return spring assembly that is not retracting the piston evenly.
Expert Fix: Check the 3-4 backing plate with a precision straight edge; runout must not exceed 0.005 inches. Inspect the inner and outer seals on the 3-4 piston. If the aluminum drum bore is scored, the drum must be replaced or sleeved. Use a bonded piston or high-quality O-ring seals to prevent rolling during high-pressure apply.
Pattern 3: Internal Spline Fretting and OD Charring
Visual Cue: The outer diameter (OD) of the friction discs is heavily charred or missing entirely, while the inner diameter looks relatively fresh. Upon closer inspection of the 3-4 clutch hub (OEM part #10453013) and the turbine shaft, you will notice galling, fretting, or "rocking" wear on the internal splines.
Root Cause: The 3-4 clutch hub rides on the turbine shaft splines. Over time, the interference fit degrades. When the hub can rock on the shaft, it acts as a fulcrum during clutch apply. The outer edge of the friction disc makes contact first, creating immense localized heat and destroying the OD of the friction paper.
Expert Fix: Perform the "rock test." Install the 3-4 hub onto the turbine shaft and attempt to rock it by hand. If you detect more than 0.003 inches of lateral movement, the shaft splines are compromised. You must replace the turbine shaft or utilize an aftermarket hub with tighter spline tolerances.
Master Builder's Note: "Never ignore the 3-4 accumulator. The factory steel pin wears a groove into the aluminum case, allowing apply fluid to bypass directly to the exhaust circuit. If you find a burnt 3-4 clutch pack, drop the valve body and check the accumulator bore immediately. A $15 pin kit saves a $2,000 rebuild."
Diagnostic Matrix: Wear Patterns vs. Required Action
Use this reference table on the teardown bench to quickly map visual clues to mechanical and hydraulic repairs.
| Wear Pattern | Primary Visual Indicator | Root Cause | Required Builder Action |
|---|---|---|---|
| Concentric Heat Spotting | Blue/black rings on steels; glazed frictions | Valve body cross-leak or accumulator bypass | Ream shift valve bores; install Sonnax ZIP kit; replace accumulator pin |
| Asymmetrical Taper | Friction worn to core on one side only | Warped backing plate or cocked apply piston | Replace backing plate; inspect drum bore for scoring; use bonded piston |
| OD Charring / Spline Fretting | Outer edge burnt; inner edge intact; hub galling | 3-4 hub rocking on worn turbine shaft splines | Replace turbine shaft; upgrade to heavy-duty hub; check shaft runout |
| Uniform Burn (Total Failure) | All frictions burnt to steel; steels welded together | Complete hydraulic loss (broken piston or seal blowout) | Pressure test drum; check 3-4 clutch feed orifice in case for blockage |
Hydraulic Upgrades and Best Practices for 2026 Rebuilds
Once the root cause is identified via the wear patterns, the rebuild process must incorporate modern upgrades to handle the torque output of contemporary LS and LT swap engines. The factory 4L60E 3-4 clutch pack was designed for the torque output of a 1990s 5.7L Vortec, not a modern cammed 6.0L making 500+ lb-ft.
Friction and Steel Selection
For high-torque applications, standard OEM frictions are insufficient. We recommend utilizing Raybestos High Energy frictions (Part #746110) or the complete Z-Pak clutch module (Part #746100). The High Energy material features a specialized porous paper that retains ATF longer during the shift event, drastically reducing the coefficient of friction drop-off at high temperatures.
Pair these with Kolene-treated steel separator plates. The Kolene process creates a micro-porous surface on the steel that holds a microscopic layer of fluid, preventing the steel-to-friction micro-welding that causes the dreaded "blue steels" and subsequent flaking.
Clearance Specifications and Measurement
Proper clutch pack clearance is non-negotiable. The factory specification for the 4L60E 3-4 clutch pack generally calls for 0.040" to 0.070" of total travel. However, for performance builds using 6 frictions and 6 steels, target a tighter clearance of 0.040" to 0.055".
- Measurement Method: Do not rely solely on feeler gauges through the snap-ring groove. Install the backing plate and snap-ring, then mount a dial indicator on the drum. Push the backing plate down to seat the frictions, zero the indicator, and pull up. This gives you true dynamic clearance.
- Fluid Soak: Always pre-soak Raybestos High Energy frictions in the exact ATF you plan to use (e.g., Dexron VI or a synthetic like Amsoil Signature) for a minimum of 2 hours before assembly. Dry installation will cause immediate glazing on the first 3-4 shift.
Addressing the Accumulator and Shift Kit Integration
The 3-4 shift feel is heavily dictated by the 3-4 accumulator. While some builders opt to block the accumulator entirely for a firm, instantaneous shift, this can cause harsh mechanical banging that damages the sun shell. Instead, use a calibrated shift kit like the TransGo SK-4L60E. This kit allows you to ream the worn accumulator bore in the case, install a steel sleeve, and utilize a heavier accumulator spring. This provides a controlled, firm apply that protects the 3-4 clutch pack from shock-loading while eliminating the fluid volume loss that causes micro-slipping.
Conclusion: Let the Discs Tell the Story
The 4L60 3-4 clutch pack does not fail without a reason. Whether it is a hydraulic leak masquerading as heat spotting, a mechanical rock causing OD charring, or a warped component creating asymmetrical taper, the friction discs hold the blueprint to the failure. By taking the time to read these wear patterns, verifying spline integrity, and upgrading the hydraulic apply circuit, you can transform the 4L60E's weakest link into a reliable, high-torque holding component. Stop guessing, start measuring, and let the wear patterns guide your next rebuild.