Dropping a manual transmission is a rite of passage for DIY mechanics, but misdiagnosing the root cause of your drivetrain issues can turn a weekend project into an expensive, frustrating nightmare. Before you order a replacement kit and break out the transmission jack, you must definitively answer a critical question: how can you tell if you need a new clutch? In 2026, with the rising complexity of dual-mass flywheels (DMF) and concentric slave cylinders (CSC), confusing a failing hydraulic component with a worn friction disc is easier than ever.
This guide bridges the gap between symptom diagnosis and actionable DIY replacement tips. We will cover how to isolate the exact failure point and provide the critical installation specifications you need to ensure your DIY swap lasts another 100,000 miles.
The Definitive Diagnostic Checklist: Isolating the Failure
Clutch system failures generally fall into three categories: friction material wear, hydraulic failure, or bearing/mechanical binding. Use these field tests to pinpoint the exact culprit.
1. The Stall Test (Diagnosing Slipping)
A slipping clutch occurs when the friction disc can no longer maintain the clamping load of the pressure plate against the flywheel.
The Test: Find a safe, open road. Shift into 4th gear at roughly 2,000 RPM and apply moderate throttle. If the engine RPMs flare up without a proportional increase in vehicle speed, your friction disc is glazed or worn past its service limit.
Edge Case: If you have recently installed an aftermarket high-clamp-load pressure plate (like an Exedy Stage 1) on a stock flywheel, the flywheel may have warped due to excessive heat, causing localized slipping.
2. The Drag Test (Diagnosing Disengagement Issues)
If your transmission grinds when shifting into 1st or Reverse while stationary, the clutch is not fully disengaging.
The Test: With the engine idling and the vehicle in neutral, press the clutch pedal fully to the floor. Wait 10 seconds to allow the input shaft to spin down. Attempt to shift into Reverse. If it grinds, the disc is warped, the splines are binding on the input shaft, or your hydraulics are failing to provide adequate stroke.
3. Auditory Cues: Bearing vs. Friction Noise
Noise is one of the most reliable diagnostic indicators, provided you know what to listen for:
- Squealing when the pedal is DEPRESSED: This is the classic signature of a failing throwout bearing (release bearing). The bearing is under load and the dry, worn internal races are screaming.
- Squealing when the pedal is RELEASED: This points to a failing pilot bearing (located in the back of the crankshaft) or a worn transmission input shaft bearing. The noise occurs because the input shaft and crankshaft are spinning at different speeds when the clutch is disengaged.
- Chatter upon engagement: Usually caused by oil contamination on the friction disc (often from a leaking rear main seal or transmission input shaft seal) or broken torsional dampening springs inside the disc hub.
Symptom vs. Actual Culprit: Diagnostic Matrix
Use this troubleshooting matrix to avoid replacing parts unnecessarily. According to diagnostic guidelines from AA1Car, up to 30% of 'clutch failures' are actually hydraulic or flywheel-related.
| Observed Symptom | Probable Culprit | Verification Method |
|---|---|---|
| Pedal sinks to the floor slowly | Internal Master Cylinder Bypass | Hold pedal down with light foot pressure; if it drops, replace master cylinder. |
| Grinding into Reverse | Warped Disc / Bad Hydraulics | Check slave cylinder stroke length; inspect fluid for moisture/boiling. |
| RPM flare in 4th/5th gear | Worn Friction Disc / Weak PP | Perform stall test; inspect disc thickness upon removal. |
| Vibration at idle, gone when clutch pressed | Failing Dual-Mass Flywheel (DMF) | Inspect DMF for excessive angular free-play (>15 degrees) or heat cracks. |
Confirmed Failure? Essential DIY Clutch Replacement Tips
Once you have confirmed that the friction assembly is indeed dead, it is time to prepare for the swap. Whether you are pulling a Tremec T56 Magnum from a GM F-Body or dropping a Honda K20C1 from a Civic Type R, these DIY tips will prevent catastrophic reassembly errors.
Flywheel Resurfacing and Step Height
Never install a new clutch on a glazed or scored flywheel. However, simply resurfacing it is not enough; you must verify the step height. The step height is the distance between the flywheel friction surface and the pressure plate mounting pad.
For example, the Mazda Miata (BP4W engine) requires a precise step height of roughly 0.420mm. If a machine shop removes too much material without using a stepped pressure plate or shim, the clutch will not fully disengage, leading to immediate gear grinding. Always consult your specific Exedy or Sachs service manual for the exact step height tolerance before sending your flywheel to the machine shop.
Bench Bleeding the Hydraulics
If your vehicle utilizes a concentric slave cylinder (CSC) inside the bellhousing—common in modern Ford Mustangs and BMWs—you must bench bleed the slave cylinder and master cylinder assembly before installing the transmission. Attempting to bleed a CSC after the transmission is bolted to the block frequently results in trapped air, leading to a spongy pedal and incomplete disengagement. Use a high-quality, low-viscosity fluid like ATE SL.6 DOT 4 to ensure rapid response in cold weather.
Alignment Dowels and Pilot Bearings
The transmission must be perfectly aligned with the engine block. The bellhousing alignment dowels carry the shear load, not the bolts. If a dowel is missing or bent, the transmission input shaft will bind in the clutch disc splines, causing premature wear and harsh shifting.
Pro Tip: Always replace the pilot bearing. Use a dedicated pilot bearing puller or the traditional 'grease and wooden dowel' hydraulic extraction method. For Honda K-Series engines, ensure the new pilot bearing is seated flush; a protruding bearing will prevent the input shaft from seating fully, destroying the transmission case.
Critical Torque Specifications
Clamp loads and rotating assemblies demand precise torque sequences. Guesswork here leads to warped pressure plates or shattered flywheels.
- Honda K20 Flywheel to Crank: 76 lb-ft + 90 degrees. These are Torque-To-Yield (TTY) bolts. Never reuse them.
- Pressure Plate to Flywheel (Typical 8mm/10mm bolts): 18 to 25 lb-ft, tightened in a crisscross star pattern over 3 passes to ensure even diaphragm spring tension.
- Tremec T56 Bellhousing to Engine Block: 35 lb-ft. Ensure the ground strap is reattached to one of these bolts to prevent electrical arcing through the transmission bearings.
- Transmission Crossmember: Typically 35-50 lb-ft, but always load the engine/transmission mount with a floor jack to the factory ride-height position before tightening to prevent tearing the rubber bushings.
DIY vs. Professional Shop: 2026 Cost Breakdown
Is the DIY route worth the effort? Here is a realistic look at the costs involved in a standard rear-wheel-drive or front-wheel-drive clutch replacement in 2026.
- DIY Parts Cost: $250 - $600. A premium kit (e.g., LuK RepSet or Sachs Performance) including the disc, pressure plate, TOB, and pilot bearing usually runs around $350. Add $75 for flywheel resurfacing and $50 for fluid and shop supplies.
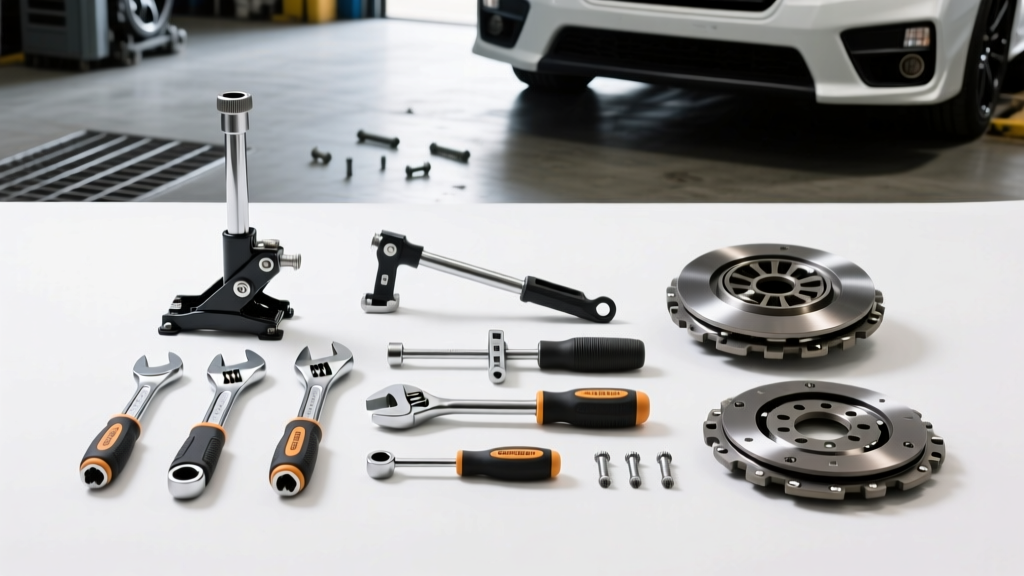
- DIY Tool Investment: $100 - $250 (if you don't own them). This includes a transmission jack adapter, flywheel lock tool (like OEMTOOLS 25915), and a clutch alignment tool.
- Professional Shop Cost: $1,200 - $2,200. Labor rates averaging $150-$190/hour mean you are paying for 6 to 9 hours of book time, plus a shop markup on the parts.
The Verdict: If you have a safe workspace, a high-quality floor jack, and the patience to follow torque sequences, a DIY clutch swap saves you upwards of $1,000. However, if you are dealing with a complex all-wheel-drive system or a heavily rusted subframe, the professional shop rate is a worthwhile insurance policy against snapped exhaust studs and seized driveshaft bolts.
Final Thoughts on Drivetrain Diagnostics
Knowing how to accurately diagnose your drivetrain is the hallmark of a skilled home mechanic. By systematically ruling out hydraulic leaks, verifying pedal free-play, and listening to bearing noises, you can confidently answer the question of how can you tell if you need a new clutch. When the time comes to turn the wrenches, respect the torque specs, verify your flywheel step height, and bench-bleed your hydraulics. Do it right the first time, and your manual transmission will reward you with crisp, reliable shifts for years to come.