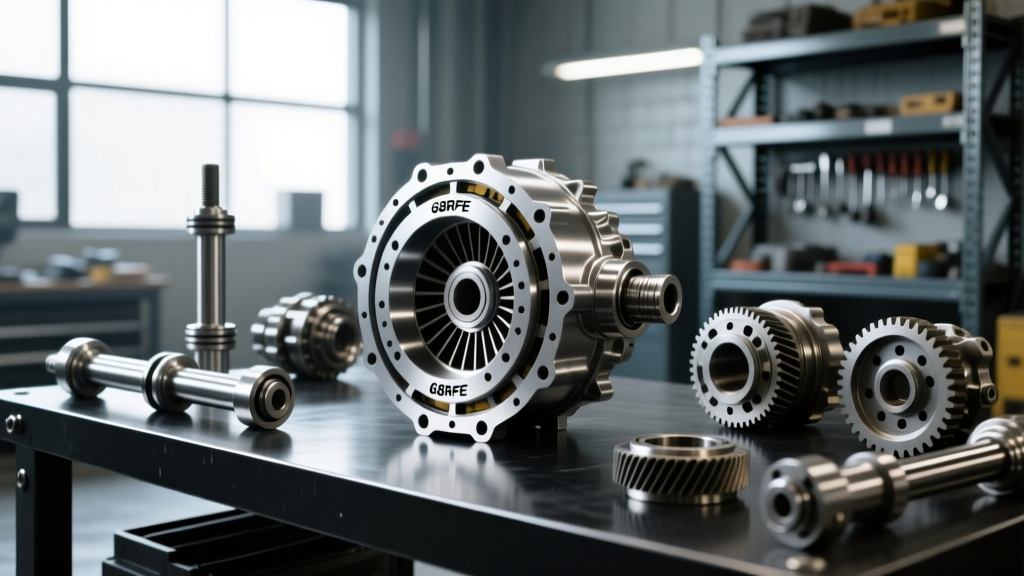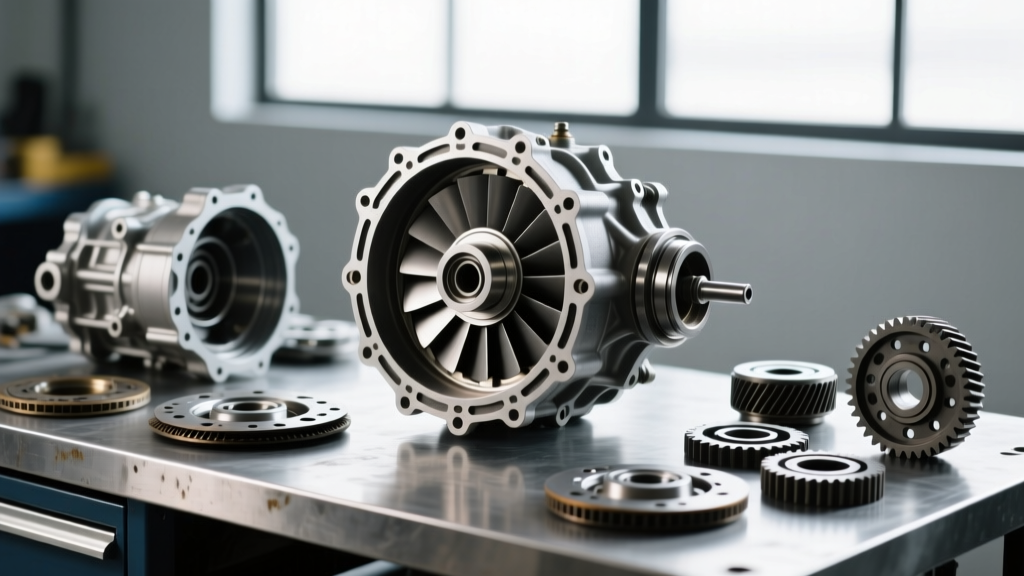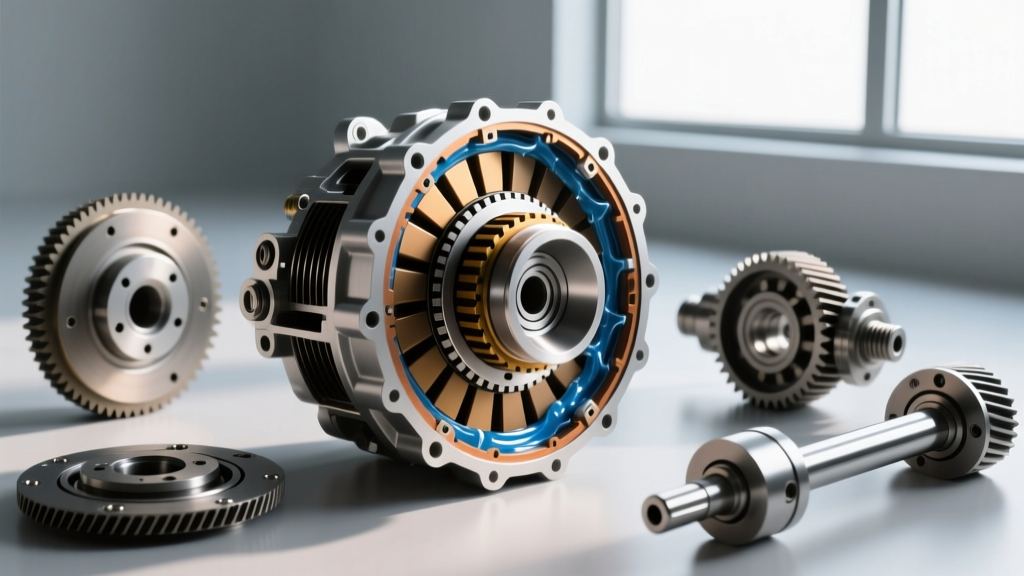
Understanding the CVT Torque Converter Architecture
Continuously Variable Transmissions (CVTs) have fundamentally changed the automotive drivetrain landscape, but they are not immune to the hydraulic and mechanical failures that plague traditional planetary automatics. Unlike older CVT designs that relied on wet start clutches, modern iterations like the Jatco JF011E (RE0F10A), Jatco JF016E, and Subaru Lineartronic TR690 utilize a traditional fluid-coupled torque converter. This component serves a dual purpose: it provides smooth vehicle launch from a standstill and houses a Torque Converter Clutch (TCC) lockup mechanism to eliminate parasitic slip during cruising. Because CVTs rely heavily on early and aggressive TCC lockup to prevent push-belt or chain slip under load, the torque converter is subjected to immense thermal and frictional stress. When diagnosing drivability issues, relying on generic OBD2 codes is insufficient. Professional technicians must utilize a specific CVT torque converter chart to map real-time data against factory-engineered parameters.
Why You Need a CVT Torque Converter Chart
A standard scan tool will tell you if the Transmission Control Module (TCM) is commanding the TCC solenoid, but it will not immediately reveal the mechanical health of the lockup clutch friction material or the stator one-way clutch. By plotting live data onto a torque converter chart, you can visualize the delta between commanded solenoid duty cycle, actual TCC slip RPM, and primary line pressure. This step-by-step guide will walk you through capturing this data and interpreting it to isolate whether your customer is facing a failing torque converter, a degraded valve body, or simply depleted fluid friction modifiers.
Reference Chart: Jatco JF011E (RE0F10A) TCC Parameters
Below is a baseline torque converter chart for the widely used Nissan/Jeep/Dodge Jatco JF011E CVT operating at normal operating temperature (176°F / 80°C). Use this as your diagnostic benchmark.
| Vehicle Speed (MPH) | Engine RPM | TCC Solenoid Duty Cycle (%) | Expected TCC Slip (RPM) | Primary Line Pressure (PSI) |
|---|---|---|---|---|
| 15 - 20 | 1,200 | 15% (Ramping) | 80 - 120 | 65 - 80 |
| 25 - 30 | 1,400 | 45% (Applying) | 30 - 50 | 85 - 100 |
| 35 - 45 | 1,600 | 85% (Fully Locked) | 0 - 15 | 110 - 130 |
| 55 - 65 | 1,800 | 90% (Fully Locked) | 0 - 10 | 120 - 145 |
| Idle (Drive) | 650 | 0% (Released) | 650 (Full Slip) | 50 - 65 |
Step 1: Identify the Core Torque Converter Symptoms
Before hooking up the gauges, you must verify the customer's complaint and categorize the symptom. CVT torque converter failures typically present in three distinct ways:
- 20-45 MPH Rhythmic Shudder (TCC Judder): This feels like driving over highway rumble strips. It occurs when the TCC lockup clutch friction material is worn unevenly or the fluid has lost its anti-shudder friction modifiers, causing the clutch to rapidly apply and release (micro-slip).
- Highway RPM Flares: If the engine RPM surges by 200-400 RPM while maintaining a steady throttle at 60 MPH, the TCC lockup piston seals are leaking internally, or the clutch material is completely glazed.
- Whining or Grinding at Idle in Gear: If you hear a metallic whine that disappears when shifted into Park or Neutral, the internal stator one-way clutch inside the torque converter has likely failed, causing the stator to freewheel in both directions and destroy hydraulic efficiency.
Step 2: Gather Your Diagnostic Equipment
To properly utilize a torque converter chart, you need bidirectional data capabilities and mechanical verification tools. Generic code readers cannot read CVT-specific PIDs (Parameter IDs). You will need an advanced diagnostic tablet, such as the Autel MaxiSYS Ultra or Snap-on Apollo-D9, capable of graphing TCC Slip RPM, TCC Solenoid Duty Cycle, and CVT Fluid Temperature simultaneously. Additionally, procure a 0-300 PSI transmission pressure gauge kit with the correct JIS/NPT adapter to tap into the primary line pressure test port on the transmission case. According to the Nissan Factory Service Manuals, verifying hydraulic baseline pressure is mandatory before condemning the torque converter, as a failing primary pressure regulator solenoid can mimic TCC slip.
Step 3: Perform the TCC Slip and Pressure Test
Ensure the CVT fluid is at normal operating temperature (verify via scan tool; NS-3 fluid must be above 140°F / 60°C for accurate TCC apply logic). Take the vehicle on a steady-state road test. Accelerate gently to 40 MPH and hold the throttle perfectly steady. Open your scan tool's graphing feature. You should see the TCC Solenoid Duty Cycle climb past 80%. Simultaneously, watch the TCC Slip RPM PID. In a healthy Jatco or Subaru CVT, the slip should drop to near zero (under 15 RPM) within 3 seconds of the solenoid reaching its target duty cycle. If the slip hovers between 50 and 150 RPM despite a high duty cycle command, you have isolated a mechanical or hydraulic failure inside the converter or the TCC control valve.
Step 4: Cross-Reference Data with the Torque Converter Chart
Compare your live data against the torque converter chart provided above. If your line pressure matches the chart (e.g., 120 PSI at 45 MPH) but your TCC slip is reading 150 RPM, the hydraulic delivery system (valve body, TCC solenoid, and pump) is functioning correctly. The fault lies inside the torque converter itself—specifically, the lockup clutch friction lining is worn through to the backing plate, or the piston O-ring is severed. Conversely, if your TCC slip is high AND your line pressure is low (e.g., 70 PSI instead of the expected 120 PSI), do not replace the torque converter yet. You must drop the valve body and inspect the TCC lockup control valve and primary pressure regulator for scoring or stuck valves, a notorious issue on high-mileage JF011E units.
Step 5: Isolate Fluid Degradation vs. Mechanical Failure
CVT fluids like Nissan NS-3 and Toyota CVTF FE are highly specialized. They contain specific friction modifiers designed to allow the TCC lockup clutch to operate in a state of 'controlled micro-slip' to absorb engine harmonics without generating excessive heat. Over 60,000 miles, these shear-stable polymers break down. If your torque converter chart data shows a slip rate of 30-50 RPM accompanied by light shudder, perform a double drain-and-fill with genuine OEM fluid before condemning the hardware. Aftermarket 'universal' CVT fluids often lack the precise friction coefficients required for Jatco lockup clutches, leading to immediate TCC judder even if the mechanical components are pristine.
Real-World Application: Toyota Direct Shift-CVT (K120)
Toyota's K120 Direct Shift-CVT introduces a fascinating wrinkle to torque converter diagnostics. As detailed by Jatco and Toyota engineering publications, the K120 utilizes a physical launch gear alongside the torque converter. The TC operates only from 0 to roughly 15 MPH. Once the vehicle shifts into the mechanical first gear, the torque converter is completely bypassed and locked out of the power flow. If you are diagnosing a shudder on a 2019+ Toyota Corolla or RAV4 equipped with the K120, and the shudder occurs above 25 MPH, you are not looking at a torque converter failure. You are looking at a mechanical pulley issue or a stepper motor failure. The torque converter chart for a K120 is only relevant for 0-15 MPH launch-phase diagnostics, making accurate symptom mapping critical before ordering parts.
CVT Torque Converter Replacement Costs and Part Data
If your step-by-step diagnostic confirms internal torque converter failure, you must replace the unit and thoroughly flush the cooler lines to prevent contaminated fluid from destroying the new lockup clutch. Below are current market estimates and OEM part numbers for common applications:
- Nissan Altima/Rogue (Jatco JF011E): OEM Part # 31100-1XF0A. Part cost: $850 - $1,050. Labor (R&R transmission): $1,200 - $1,500. Total Job: $2,050 - $2,550.
- Toyota RAV4 (Direct Shift K120): OEM Part # 35000-0W060. Part cost: $900 - $1,150. Labor: $1,400 - $1,700. Total Job: $2,300 - $2,850.
- Subaru Outback (Lineartronic TR690): OEM Part # 31100AA150. Part cost: $1,100 - $1,300. Labor: $1,500 - $1,800 (requires AWD rear driveshaft and subframe manipulation). Total Job: $2,600 - $3,100.
Always pair a new torque converter with a new OEM flexplate and torque the converter-to-flexplate bolts to the manufacturer's exact specification (typically 18-22 lb-ft for M8 bolts, depending on the application) using a thread-locking compound. Failing to use a torque converter chart and relying on guesswork will inevitably lead to misdiagnosis, unnecessary parts swapping, and comebacks that destroy shop profitability.