The Anatomy of the Bronco Sport Drivetrain
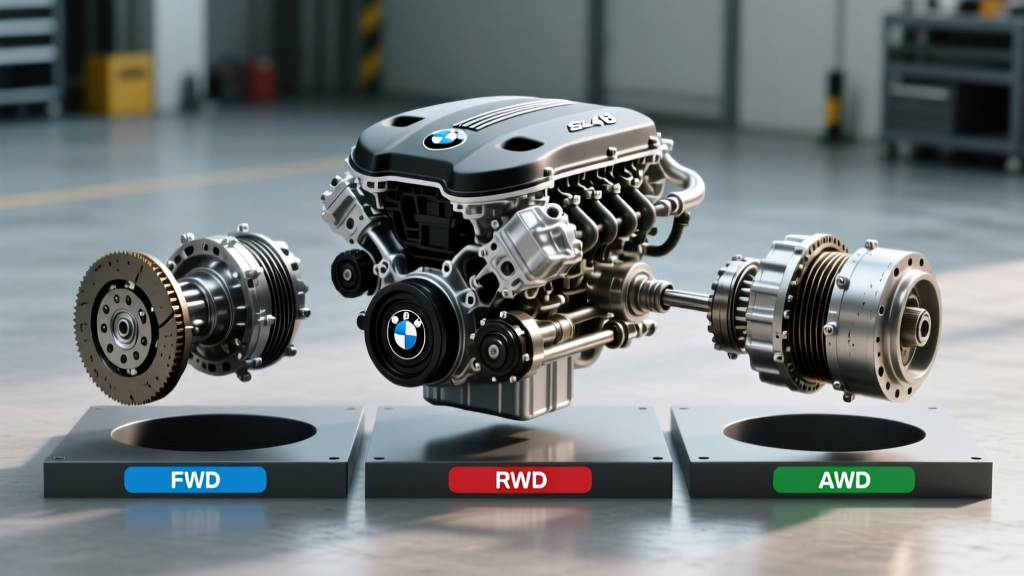
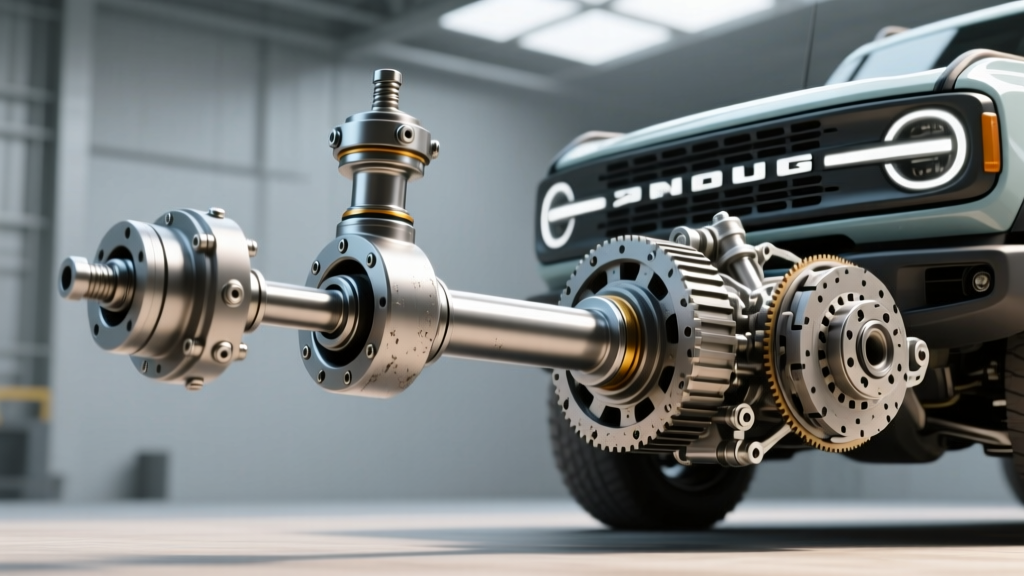
The Ford Bronco Sport, built on the unibody C2 architecture, utilizes a sophisticated, FWD-biased all-wheel-drive system that fundamentally differs from the body-on-frame, part-time 4WD setup of the full-size Bronco. Understanding the Bronco Sport drivetrain is critical before attempting any propeller shaft or universal joint (U-joint) service. Power is routed from the transaxle into a Power Transfer Unit (PTU), which acts as the front differential and transfer case hybrid. From the PTU, an aluminum propeller shaft transmits torque rearward to the Rear Drive Unit (RDU).
On the Badlands trim, this RDU is the advanced GKN Twinster twin-clutch system, capable of true torque vectoring. Base and Outer Banks models use a more traditional open/locked RDU. In both configurations, the propeller shaft relies on U-joints to manage suspension articulation and pinion angle changes. However, unlike traditional trucks that use greaseable, snap-ring-secured Spicer 1310 joints, the Bronco Sport utilizes lightweight, non-serviceable staked (or swaged) U-joints designed strictly for factory NVH (Noise, Vibration, and Harshness) optimization.
4 Critical U-Joint Failure Symptoms in the C2 Platform
Because the Bronco Sport operates as a daily driver with light off-road capabilities, its drivetrain components are subjected to unique stressors, particularly heat soak from the turbocharged EcoBoost engines and high-frequency torque reversals from the AWD clutches. Watch for these specific failure modes:
1. Low-Speed Squeaking or Chirping
A rhythmic chirp that correlates with vehicle speed (not engine RPM) at 5–15 mph is the earliest indicator of U-joint needle bearing starvation. The front U-joint, located directly behind the PTU, is highly susceptible to heat degradation. The PTU sits in close proximity to the exhaust downpipe and turbocharger, often baking the factory U-joint grease until it turns to a hard, abrasive carbon crust.
2. Driveline Lash and Engagement Clunk
As the trunnions and bearing caps wear, microscopic slop is introduced into the driveline. In the Bronco Sport, this lash is magnified by the PTU and RDU clutch packs. When shifting from Reverse to Drive, or during abrupt throttle tip-in, you will hear a metallic clunk. This is the propeller shaft taking up slack before the RDU clutch packs fully engage.
3. High-Frequency NVH (80+ MPH)
Worn U-joint caps cause the propeller shaft to rotate slightly out-of-phase, inducing a secondary harmonic vibration. In the C2 unibody platform, this high-frequency vibration travels directly through the center support bearing (if equipped on your specific wheelbase configuration) and into the chassis floor pan, feeling like a buzzing or shudder at highway speeds.
4. Twin-Clutch Shudder (Badlands Trim)
If you drive a Badlands model with the GKN Twinster RDU, a binding U-joint can wreak havoc on the torque vectoring system. The Twinster relies on precise rotational speed data to modulate the twin clutches. A binding U-joint creates rotational drag and speed fluctuations, which the AWD module interprets as wheel slip, resulting in erratic clutch engagement and a noticeable shudder during cornering.
The Staked U-Joint Dilemma: Replace the Joint or the Shaft?
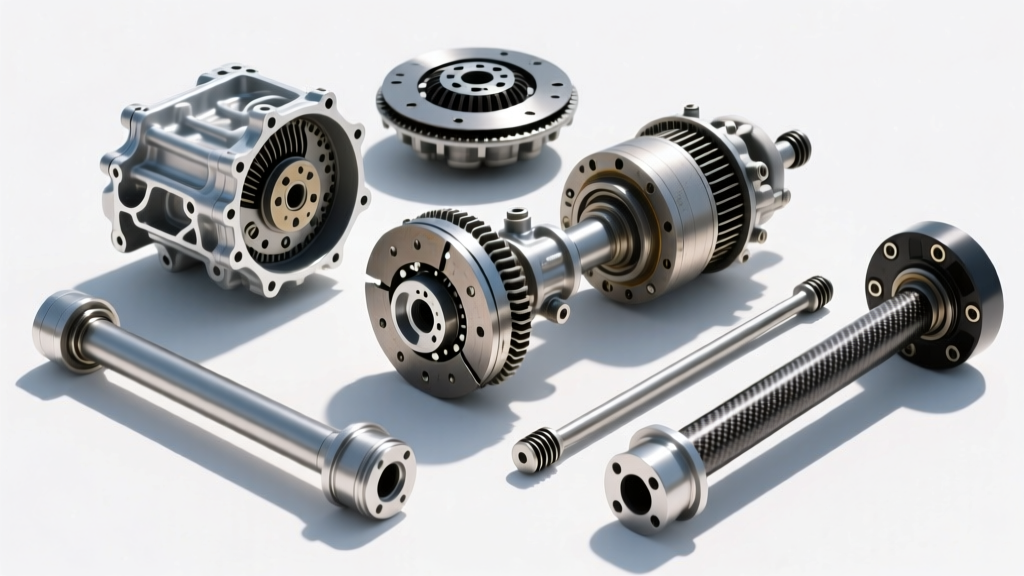
The most challenging aspect of the Bronco Sport drivetrain propeller shaft is the factory use of staked bearing caps. Instead of using internal or external snap rings to hold the U-joint caps in place, the factory uses a swaging tool to deform the yoke metal over the edges of the caps. This means there are no snap rings to remove. For a detailed look at how staked joints are engineered for OEM applications, refer to the Spicer Parts U-Joint Application Guide.
When it comes to replacement, you have two distinct paths:
| Replacement Strategy | Procedure Overview | Estimated Cost (2026) | Pros & Cons |
|---|---|---|---|
| OEM Full Shaft Replacement | Remove the entire propeller shaft assembly and install a new Ford/Motorcraft unit with factory staked joints. | $750 – $1,100 (Parts + Labor) | Pros: Guaranteed fitment, factory NVH balance, dealer warranty. Cons: Highly expensive, joints are still non-greaseable and prone to repeat failure. |
| Aftermarket Conversion / Machining | A specialized driveline shop cuts away the staked metal, presses in aftermarket snap-ring U-joints (e.g., Spicer 5-760X or equivalent C2 conversion), and balances the shaft. | $300 – $500 (Parts + Labor) | Pros: Cost-effective, allows for future greasable U-joint service. Cons: Requires specialized driveline shop, potential NVH changes if not balanced correctly. |
Step-by-Step Propeller Shaft Removal
If you are replacing the shaft or removing it for a driveline shop to press in new conversion joints, the removal process requires strict adherence to phase marking and torque specifications. Note: Always consult the official Ford Workshop Manual (WSM) for your specific VIN before beginning.
- Vehicle Preparation: Raise the Bronco Sport on a dual-post lift or secure it on four jack stands. Ensure the suspension is loaded or safely supported. Chock the front wheels.
- Phase Marking (CRITICAL): Use a yellow paint pen or punch to mark the alignment between the rear U-joint flange and the RDU pinion flange. Reinstalling the shaft even one spline or bolt-hole out of phase will induce severe driveline vibration.
- PTU Flange Disconnection: Remove the 4 to 6 bolts securing the front U-joint to the PTU output flange. These are typically 10mm or 12mm hex heads. Torque spec for reinstallation is generally 35 lb-ft (48 Nm).
- Center Support Bearing (If Equipped): Unbolt the center support bracket from the chassis crossmember. Do not pry on the rubber isolator, as tearing it will cause chassis resonance.
- RDU Pinion Flange Disconnection: Remove the bolts securing the rear U-joint to the RDU pinion flange. Reinstallation torque is also 35 lb-ft (48 Nm). Warning: NEVER remove the large center pinion nut unless you are replacing the RDU pinion seal. This nut secures a crush sleeve or high-torque prevailing nut setup (often requiring >160 lb-ft to remove) and destroying the preload will ruin the RDU.
- Shaft Extraction: Slide the propeller shaft forward to clear the RDU pinion, then lower it and pull it rearward to clear the PTU. Cap the PTU output seal immediately to prevent fluid leakage and contamination.
Preventative Maintenance: Saving the Front U-Joint
The Achilles heel of the Bronco Sport drivetrain is the thermal load placed on the PTU and the adjacent front U-joint. The PTU relies on a small fluid capacity (typically under 0.6 quarts of specific Motorcraft 75W-85 or equivalent AWD fluid) to manage the heat generated by the hypoid gears and the AWD clutch pack.
As the PTU fluid degrades, operating temperatures spike. This heat radiates directly into the front U-joint trunnion, melting the grease seal and destroying the needle bearings. To maximize the lifespan of your propeller shaft:
- PTU Fluid Service: Change the PTU fluid every 30,000 miles if you tow, off-road, or drive in stop-and-go traffic. The factory "sealed for life" recommendation is a primary cause of premature PTU and U-joint failure.
- Undercarriage Cleaning: After mudding or snow driving, pressure wash the propeller shaft and U-joints. Packed mud acts as an insulator, trapping heat and accelerating grease breakdown.
- Visual Inspections: Every oil change, inspect the U-joint caps for "weeping" (a rusty, powdery residue around the cap edges). This is the definitive sign that the internal needle bearings are oxidizing and the joint requires immediate replacement.
For further technical insights into how modern twin-clutch AWD systems manage torque and interact with driveline components, review the engineering documentation provided by GKN Automotive. Understanding the symbiotic relationship between the PTU, the prop shaft, and the RDU is the key to maintaining the Bronco Sport's legendary capability without succumbing to premature drivetrain fatigue.