The Intersection of Pneumatics and Rotational Mechanics
Upgrading to an air locker differential transforms a standard open carrier into a formidable off-road traction device. However, the installation and subsequent maintenance of these units require a hybrid understanding of heavy-duty rotational mechanics and precision pneumatics. When it comes to differential bearing and seal replacement on an air locker, the margin for error is virtually zero. A improperly seated seal housing or an incorrectly shimmed carrier bearing will not only cause catastrophic gear whine but can also allow aggressive 75W-140 gear oil to bypass the bulkhead fitting, traveling directly up the air line and destroying your onboard compressor.
As of 2026, the aftermarket has refined air locker seal kits and bearing tolerances, but the fundamental physics of axle deflection and thermal expansion remain unchanged. This guide provides master-level best practices for rebuilding the bearings and seals on popular air locker applications, such as the Dana 44 (ARB RD116) and Dana 60 (ARB RD117), ensuring your drivetrain remains sealed, quiet, and fully pressurized.
Diagnosing Air Locker Seal and Bearing Failures
Before tearing down the differential, accurate diagnosis dictates the rebuild path. Air locker failures typically manifest in three distinct ways:
- Gear Oil in the Air Line: This is the most critical failure. It indicates that the internal seal housing O-rings have degraded, or the bulkhead fitting has vibrated loose. High-sulfur EP (Extreme Pressure) gear oils will rapidly degrade standard Buna-N O-rings if they are not specifically formulated for pneumatic compatibility.
- Carrier Whine Under Load: A howling noise that changes pitch with vehicle speed indicates improper carrier bearing preload or pitted Timken bearing races. This is often caused by water ingestion through a failed axle seal, which emulsifies the diff fluid and destroys the bearing surface.
- Failure to Engage/Disengage: While often an electrical or solenoid issue, a binding carrier bearing caused by incorrect shimming can create enough rotational drag to prevent the internal locking collar from sliding smoothly across the side gears.
OEM Part Numbers and Rebuild Kit Sourcing
Sourcing high-quality bearings is non-negotiable. Counterfeit bearings flooded the market in recent years, but purchasing directly from authorized distributors ensures you receive genuine Timken or Spicer components. Below is a reference table for common air locker rebuild components and estimated 2026 pricing.
| Component | Part Number | Application | Est. Cost (2026) |
|---|---|---|---|
| Carrier Bearing & Race Kit | Timken SET 10 | Dana 44 / Dana 44 HD | $85 - $110 |
| Carrier Bearing & Race Kit | Timken SET 130 | Dana 60 / Dana 70 | $145 - $180 |
| Air Locker Seal Housing Kit | ARB 1802000 | Universal ARB Air Locker | $48 - $65 |
| Inner Axle Shaft Seal | National 710928 | Dana 44 Inner Axle | $14 - $22 |
| Bulkhead Fitting Thread Sealant | Loctite 567 | Pneumatic Thread Sealing | $18 - $25 |
Precision Replacement Protocol
1. Carrier Bearing and Race Extraction
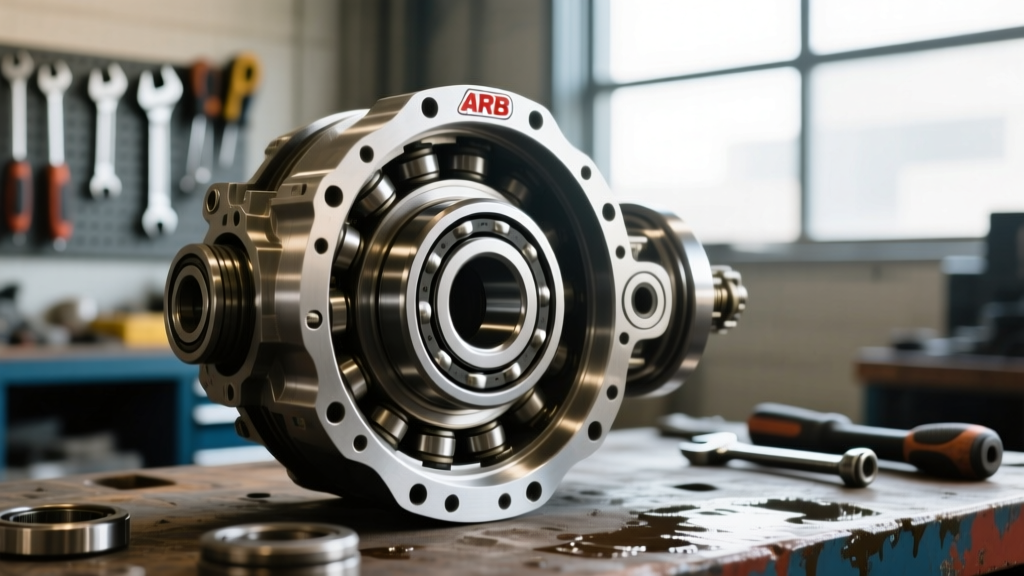
Never use a hammer and punch to remove carrier bearings or races from the air locker body. The cast or forged steel of the locker body can develop micro-fractures under impact loading. Use a dedicated clamshell bearing puller or a hydraulic press with a bearing separator plate. When pressing out the old races, ensure the press ram is perfectly square to the carrier bore. Any scoring on the bearing bore during extraction will require the carrier body to be line-bored or replaced, as an out-of-round bore will crush the new bearing races and cause immediate failure.
2. Seal Housing and Bulkhead Fitting Assembly
The seal housing is the barrier between your differential fluid and the pneumatic system. When installing the new ARB 1802000 seal housing kit, cleanliness is paramount. The bulkhead fitting threads into the seal housing and must be sealed using a specialized pneumatic thread sealant like Loctite 567 or a high-quality PTFE paste.
Expert Warning: Never use standard Teflon plumber's tape on the bulkhead fitting. The shear forces of assembly will slice the tape, sending microscopic PTFE shards into the air line. These shards will inevitably lodge in the solenoid valve, causing a slow air leak that drains your compressor tank and burns out the compressor motor.
Lubricate the new Viton O-rings with a light coating of the same synthetic gear oil you plan to run in the differential (e.g., 75W-140). Do not use petroleum jelly or silicone grease, as these can cause the O-rings to swell and bind inside the axle tube seal bore.
3. Setting Carrier Bearing Preload via Shimming
Air lockers require precise carrier bearing preload to maintain ring and pinion gear mesh under extreme axle articulation. Unlike standard open differentials, the air locker's internal pneumatic passages and seal housing add specific dimensional variables. Using a dial indicator mounted to the axle housing, measure the rotational backlash and carrier endplay. According to ARB USA engineering specifications, you must add shims behind the carrier bearing races to achieve a preload measurement. Typically, this requires adding 0.008" to 0.012" of total shim thickness beyond the exact zero-preload measurement. This ensures the bearings are loaded enough to prevent the carrier from shifting under high-torque crawling scenarios, which would otherwise destroy the ring gear teeth.
Critical Torque Specifications
Proper torque is vital to prevent the ring gear from warping the air locker flange. Always use a calibrated torque wrench and apply a medium-strength threadlocker (Loctite 242) to the ring gear bolts. Do not use high-strength red Loctite, as it will make future gear ratio changes nearly impossible without applying extreme heat, which will melt the internal air locker O-rings and solenoid wiring.
- Dana 44 Ring Gear Bolts (7/16" - 20 UNF): 70 - 90 lb-ft
- Dana 60 Ring Gear Bolts (1/2" - 20 UNF): 110 - 130 lb-ft
- Dana 44 Bearing Cap Bolts: 60 - 70 lb-ft
- Dana 60 Bearing Cap Bolts: 90 - 110 lb-ft
- Seal Housing Retaining Bolts: 15 - 20 lb-ft (Apply Loctite 242)
Gear Oil Selection and O-Ring Compatibility
Because the air locker seal housing is constantly bathed in differential fluid, the chemical composition of your chosen gear oil directly impacts the lifespan of the rebuild. Modern synthetic 75W-140 or 80W-90 gear oils contain aggressive Extreme Pressure (EP) additives, primarily sulfur-phosphorus compounds. While these additives are essential for protecting the hypoid ring and pinion gears under shock loads, they can be detrimental to older Buna-N rubber compounds.
Ensure your rebuild kit utilizes modern Viton (FKM) O-rings, which are highly resistant to sulfur-based EP additives and high operating temperatures. If you are running a specialized competition fluid with high friction modifiers for limited-slip differentials, verify with the fluid manufacturer that it is safe for pneumatic seals. If the internal seal fails, the fluid will be pushed past the O-rings by the 100+ PSI of air pressure, effectively turning your air line into a secondary drain plug for your differential.
Pre-Flight Pneumatic Testing
The most crucial step in an air locker differential bearing and seal replacement occurs before the differential cover is bolted back on and filled with fluid. Once the carrier is installed, the bearing caps are torqued, and the air line is routed through the axle tube, you must perform a dry pneumatic test.
Connect the air line to a regulated shop compressor set to exactly 100 PSI. Engage the locker via the dashboard switch. Listen closely to the seal housing area where it meets the axle tube bore. Spray a generous amount of soapy water over the bulkhead fitting and the seal housing edges. If you observe bubbles, the O-rings are pinched, or the bulkhead thread sealant has failed. Only after the carrier holds 100 PSI for a minimum of 15 minutes without a pressure drop should you proceed to install the differential cover and fill the housing with your selected gear oil. This 15-minute investment on the bench will save you from having to drain gallons of gear oil and tear down the axle a week later on the trail.