While AutoGearNexus is your premier destination for drivetrain and transmission clutch service—ranging from manual friction disc replacements to torque converter lock-up clutches in a GM 6L80E—automotive 'clutches' extend beyond the drivetrain. One of the most common service inquiries we receive from beginners is regarding the car AC compressor clutch replacement cost and the exact procedure steps to fix it. Unlike a mechanical transmission clutch that transfers engine torque to the wheels, an AC compressor clutch is an electromagnetic device that engages the compressor pulley to circulate refrigerant.
If your cabin air is blowing warm and you hear a loud squeal or notice the center hub of your AC compressor isn't spinning, you likely have a failed clutch. The good news? In most modern vehicles, you can replace just the clutch assembly without replacing the entire compressor or evacuating the refrigerant system. This guide breaks down the real-world costs, required tools, and the step-by-step clutch replacement procedure.
Understanding the AC Compressor Clutch (And Why It Fails)
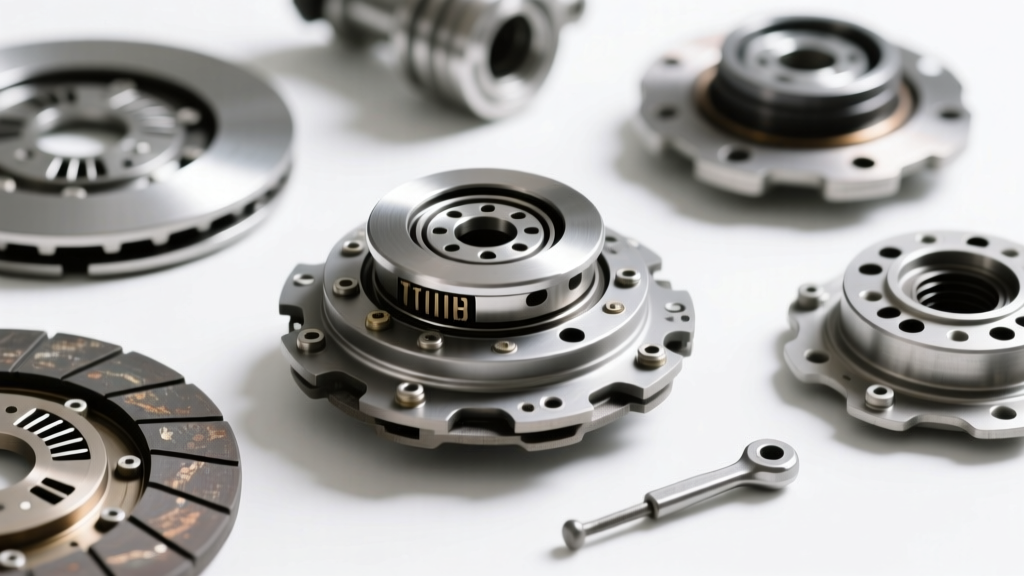
Before diving into the car AC compressor clutch replacement cost, it is vital to understand the three main components of the assembly:
- The Pulley: Driven continuously by the serpentine belt via bearings.
- The Electromagnetic Coil: Mounted inside or behind the pulley, it creates a magnetic field when energized.
- The Hub (Friction Plate): Connected to the compressor shaft. When the coil energizes, it pulls the hub against the spinning pulley, engaging the compressor.
Failure typically occurs in three ways: the coil burns out (electrical failure), the pulley bearing seizes (mechanical failure), or the air gap between the hub and pulley becomes too wide due to wear, causing the clutch to slip and overheat.
Breaking Down the Car AC Compressor Clutch Replacement Cost
One of the biggest advantages of an AC clutch failure is that it is often the most affordable AC repair. Because the refrigerant remains sealed inside the compressor, you avoid the expensive recovery and recharge fees associated with compressor swaps. According to Denso Automotive HVAC guidelines, replacing the clutch assembly alone is a standard, cost-effective repair.
| Service Level | Estimated Cost (2026) | Time Required | Notes |
|---|---|---|---|
| DIY (Parts Only) | $65 - $180 | 1 - 2 Hours | Cost of aftermarket clutch kit (e.g., Four Seasons, UAC, or Denso). |
| Independent Mechanic | $250 - $450 | 1 - 1.5 Hours | Includes 1 hour of labor at $120-$180/hr plus parts markup. |
| Dealership Service | $400 - $750+ | 1 - 2 Hours | OEM parts are significantly more expensive; some dealers refuse to replace just the clutch and will quote a full compressor. |
Pro Tip: Always buy a complete clutch kit (Coil, Pulley, and Hub) rather than just the coil. Matching the friction surfaces of a new hub to a new pulley prevents immediate slipping and premature burnout.
Tools Required for the Procedure
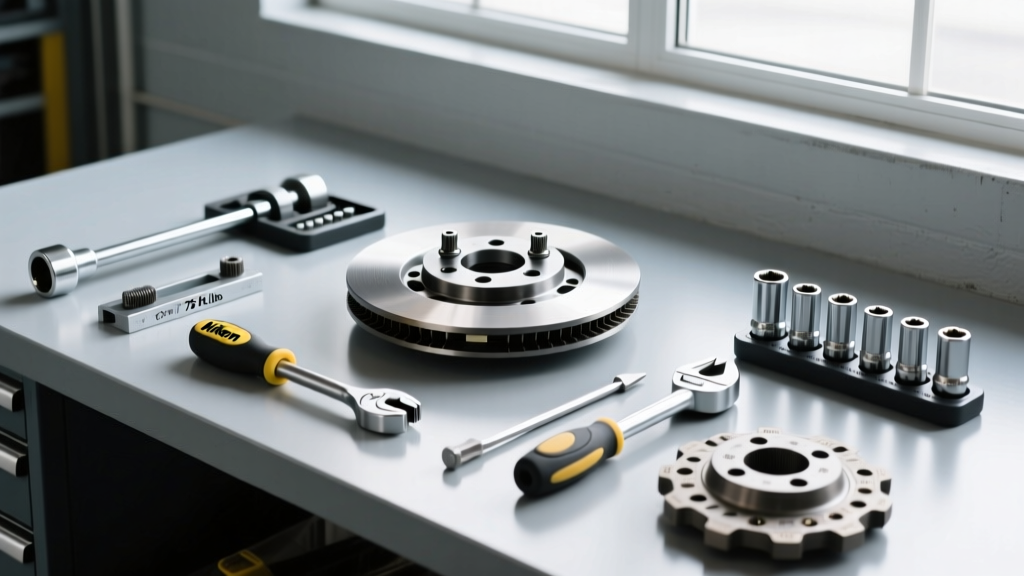
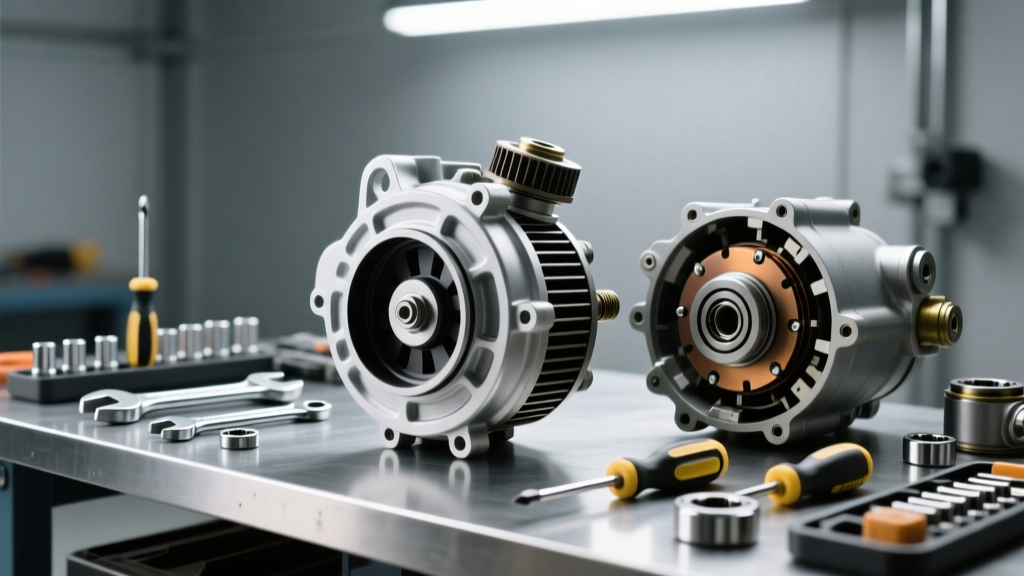
To execute this repair safely and correctly, you will need more than just a basic socket set. Gather the following:
- AC Clutch Puller/Installer Tool Set (specific to your compressor model, e.g., Sanden, Denso, or Harrison)
- Internal and External Snap Ring Pliers
- Feeler Gauge Set
- Digital Multimeter
- Torque Wrench (inch-pounds)
- Serpentine Belt Tensioner Tool
Step-by-Step AC Clutch Replacement Procedure
Follow these clutch replacement procedure steps carefully. Safety First: Disconnect the negative battery terminal before beginning. While you do not need to vent the refrigerant (which is illegal under EPA Section 609 guidelines), you must ensure the system is not leaking before reassembly.
Step 1: Remove the Serpentine Belt
Locate the belt tensioner pulley. Use a breaker bar or serpentine belt tool to rotate the tensioner and relieve pressure on the belt. Slip the belt off the AC compressor pulley and carefully tuck it aside. Inspect the belt for glazing or cracks; if it has been slipping on a failing clutch, replace the belt as well.
Step 2: Remove the Clutch Hub (Friction Plate)
The center hub is secured to the compressor shaft by a single bolt (typically 10mm or 13mm). Remove this bolt. In some cases, the hub will slide right off. If it is stuck due to corrosion or magnetic residue, thread a specialized AC clutch puller tool into the hub's threaded holes and slowly tighten the center pusher bolt to extract it. Do not pry it off with a screwdriver, or you will damage the compressor shaft seal.
Step 3: Extract the Snap Ring and Remove the Pulley
Behind the hub, you will find a large snap ring holding the pulley and coil assembly in place. Use your snap ring pliers to remove it. Once the ring is out, the pulley should slide off the front cover of the compressor. If it is seized, you may need a standard jaw puller, but be careful not to damage the aluminum compressor housing.
Step 4: Swap the Electromagnetic Coil
The coil is usually held by another smaller snap ring or a few retaining screws. Remove the old coil. Before installing the new one, use your multimeter to check the resistance of the new coil. A healthy 12V AC clutch coil should read between 3.5 and 5.0 ohms. If it reads infinite (open) or zero (shorted), you have a defective part. Install the new coil, ensuring the electrical connector is routed exactly as the original to prevent it from rubbing against the spinning pulley.
Step 5: Install the New Pulley and Snap Ring
Slide the new pulley assembly over the coil and onto the compressor snout. It should seat fully and smoothly. Reinstall the large snap ring, ensuring it is fully seated in its groove. A poorly seated snap ring will pop out while driving, resulting in catastrophic belt failure.
Step 6: Set the Air Gap (The Most Critical Step)
This is where most beginners fail. The air gap between the new hub and the new pulley must be exact—typically between 0.015 and 0.025 inches (0.3mm to 0.6mm).
- If the gap is too wide: The electromagnet won't have enough force to pull the hub, causing it to slip, overheat, and burn out the new coil.
- If the gap is too narrow: The hub will drag against the pulley even when disengaged, melting the friction plate and destroying the pulley bearing.
Slide the new hub onto the shaft. Use your feeler gauge to measure the gap at three different points around the circumference. Adjust the gap by adding or removing the thin metal shims (spacers) included in your clutch kit on the compressor shaft before tightening the center bolt.
Step 7: Torque and Reassemble
Once the air gap is perfectly set, torque the center hub bolt to the manufacturer's specification. For most Denso and Sanden compressors, this is between 11 and 18 lb-ft (15 to 25 Nm). Reinstall the serpentine belt, reconnect the battery, and start the engine.
Expert Troubleshooting: When a Clutch Swap Isn't Enough
If you have completed the clutch replacement procedure steps and the new clutch still will not engage, do not immediately assume the new part is defective. The AC system has several safety interlocks that prevent the clutch from receiving power:
- Low-Pressure Switch: If your system is low on refrigerant due to a leak, the pressure switch will cut power to the clutch to prevent the compressor from running dry and destroying itself. Check your static pressures with an AC manifold gauge set.
- Relay and Fuses: Check the AC compressor relay in the under-hood fuse box. A burnt relay contact is a $5 fix that mimics a dead clutch coil.
- Voltage Drop: Use a multimeter to verify that the clutch connector is actually receiving 12 volts when the AC is turned on in the cabin. If it is only receiving 9 volts, you have a corroded wire or a bad ground, which will not generate enough magnetic force to pull the clutch in.
Final Thoughts on AC Clutch Service
Understanding the car AC compressor clutch replacement cost and procedure empowers you to tackle a repair that many shops will try to upsell into a $1,200 full-compressor replacement. By carefully managing the air gap, verifying coil resistance, and using the proper puller tools, you can restore your vehicle's cabin cooling for a fraction of the dealership price. Always remember that while this is an electromagnetic clutch and not a drivetrain component, the principles of friction, tolerance, and precise torque specs remain just as critical as they are when rebuilding a manual transmission or servicing a ZF 8HP torque converter.