The Case for a Performance 4R70W Overhaul
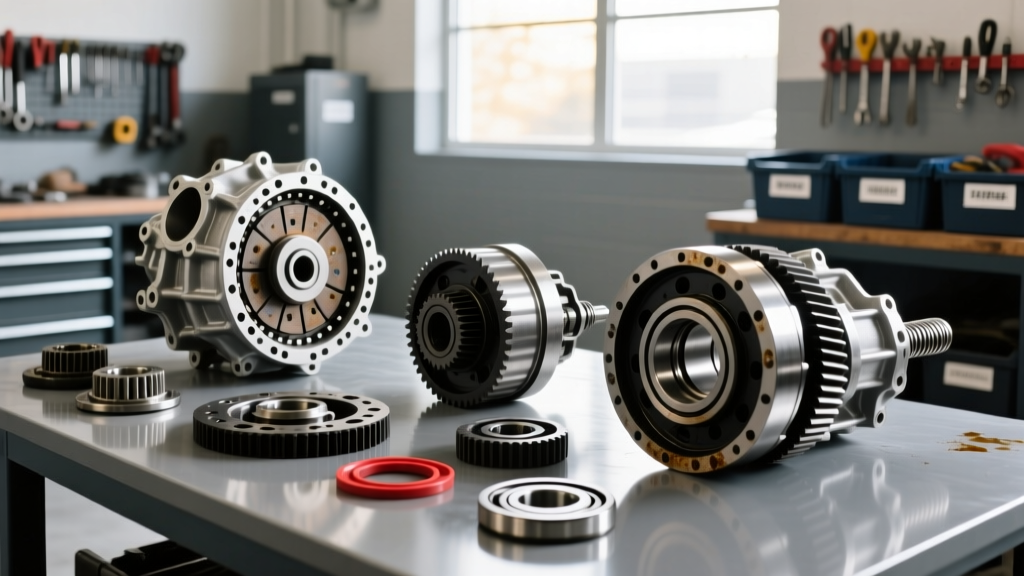
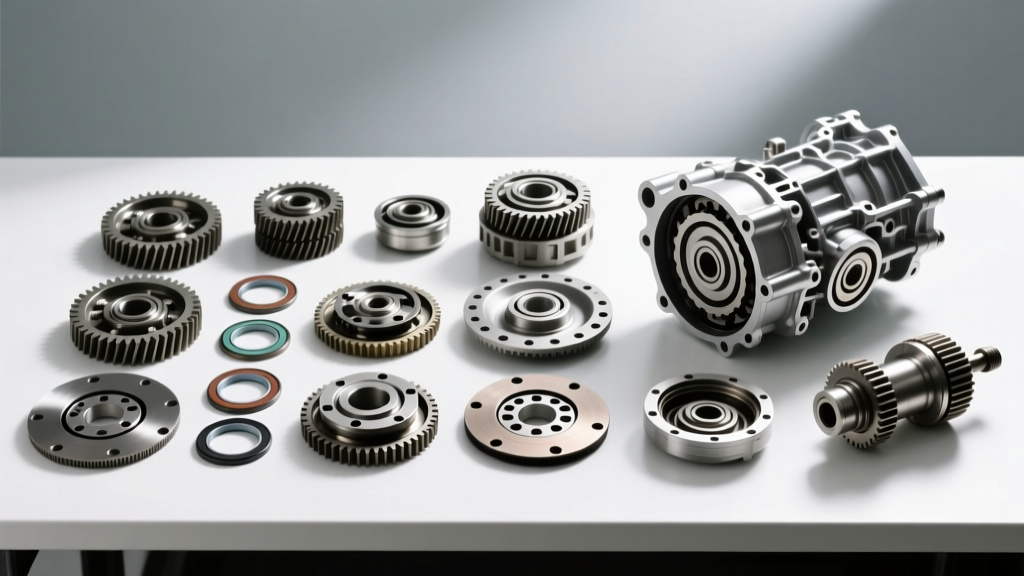
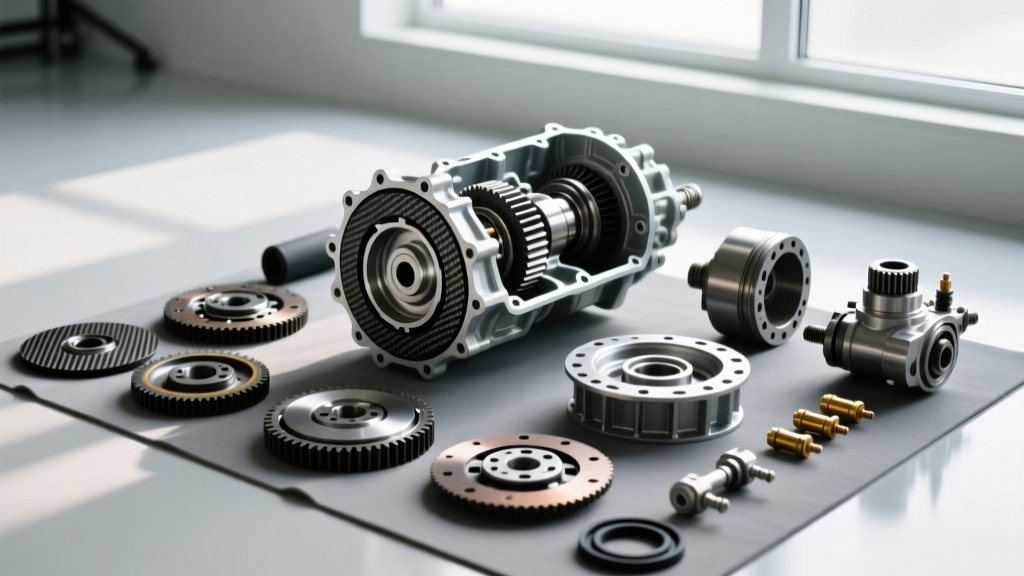
Behind Ford’s legendary 4.6L, 5.0L, and 5.4L V8 engines lies the 4R70W (and its later sibling, the 4R75W). Originally designed for the torque-heavy demands of the F-150, Mustang, and Crown Victoria, this transmission is a cornerstone of Ford performance. However, when pushing past the 350-horsepower threshold, the factory internals become a liability. If you are planning a performance build, selecting the right 4R70W transmission rebuild kit is only the beginning. True reliability requires a meticulous, step-by-step transmission overhaul that addresses factory weak points while integrating modern aftermarket upgrades.
In this performance and upgrade guide, we break down the exact costs, part selections, and step-by-step teardown and reassembly procedures required to build a 4R70W capable of handling 600+ horsepower on the street or strip.
Budgeting Your Build: 4R70W Performance Rebuild Cost Matrix
Before turning a single wrench, you must understand the financial landscape of a performance rebuild. A standard master kit will not survive high-stall torque converters or aggressive shift tuning. Below is a realistic 2026 cost breakdown for a performance-oriented DIY overhaul.
| Component Category | Stock Replacement | Performance Upgrade (Recommended) | Cost Range (USD) |
|---|---|---|---|
| Master Rebuild Kit (Clutches, Steels, Seals) | Standard Paper/Rubber Kit | Raybestos Pro-Series / Alto Red Eagles | $220 - $350 |
| Valve Body & Shift Kit | OEM Separator Plate | TransGo SK 4R70W Kit | $90 - $140 |
| Hard Parts & Geartrain | Factory Output Shaft & Sprag | Billet 300M Shaft & Mechanical Diode | $450 - $850 |
| Overdrive Band | Standard Kevlar Band | 50,000 lb High-Capacity Band | $80 - $120 |
| Torque Converter | OEM Replacement | Circle D / Stallion Billet Cover | $550 - $950 |
| Total Estimated DIY Parts Cost | $600 - $800 | Full Performance Build | $1,390 - $2,410 |
Note: Machine shop services (case line-honing, drum machining) and specialty fluids will add approximately $250-$400 to your final tally.
Phase 1: Teardown, Inspection, and Case Blueprinting
The first step in any transmission overhaul is a systematic teardown and forensic inspection. The 4R70W aluminum case is generally robust, but it has known failure points that must be addressed before assembly.
Inspecting the Bellhousing Area
High-horsepower applications often cause micro-fractures where the bellhousing meets the main case, specifically around the top mounting bolts. Magnaflux or dye-penetrant test this area. If cracks are present, the case must be TIG-welded and re-machined, or replaced. Furthermore, inspect the pump support bushing and the rear output shaft bushing. In performance builds, we recommend replacing all standard sleeve bushings with tri-metal or heavy-duty bronze alternatives to maintain geartrain alignment under extreme torsional load.
Phase 2: Upgrading the Valve Body and Accumulators
Shift firmness and clutch apply timing are dictated by the valve body. The factory 4R70W valve body utilizes plastic accumulator pistons that are notorious for cracking and causing soft 1-2 shifts or flare.
The Accumulator and Separator Plate Fix
During the valve body teardown, discard the plastic 1-2 and 2-3 accumulator pistons. Replace them with CNC-machined aluminum pistons featuring Viton O-rings. Next, install the TransGo SK 4R70W Shift Kit. This kit requires drilling specific holes in the separator plate to increase fluid volume to the direct and forward clutches. Follow the TransGo drill index exactly; oversizing the 1-2 feed orifice will result in a shift so harsh it will shatter the U-joints on a street car.
Phase 3: Clutch Packs, Bands, and the Geartrain
This is where your chosen 4R70W transmission rebuild kit earns its keep. The 4R70W utilizes a Simpson gearset with an overdrive section. The direct clutch and forward clutch are the primary targets for performance friction materials.
- Direct Clutch: Pack with Raybestos Pro-Series or Alto Red Eagle frictions. Target clearance is 0.040" to 0.060". Use a selective pressure plate to achieve this.
- Forward Clutch: This clutch applies in 1st, 2nd, and 3rd gears. Target clearance is 0.035" to 0.055". Ensure the waved cushion plate is retained or replaced with a flat steel if a firmer, drag-race-oriented shift is desired.
- Overdrive Band: The factory band will snap under the torque of a high-stall converter. Install a 50,000 lb capacity heavy-duty overdrive band and ensure the band apply pin is upgraded to a billet steel unit to prevent case wear.
The Mechanical Diode Sprag Upgrade
The most catastrophic failure point in the 4R70W is the intermediate one-way roller clutch (sprag). When it fails, the transmission loses engine braking in 1st gear and often destroys the planetary carrier. You must upgrade to a Mechanical Diode sprag. As documented by Ford performance specialists and tuning authorities like Baumann Engineering, the mechanical diode uses a locking pawl design rather than rollers, effectively eliminating sprag failure up to 800+ lb-ft of torque. This upgrade requires a specific aftermarket planetary carrier and race, but it is non-negotiable for any serious performance build.
Phase 4: Reassembly, Clearances, and Torque Specs
Reassembly requires a sterile environment, liberal use of assembly lube (such as Trans-Jel or petroleum jelly), and strict adherence to torque specifications. Endplay is critical in the 4R70W. Total geartrain endplay must be measured with a dial indicator; the target specification is 0.010" to 0.025". Use selective thrust washers to dial this in. Excessive endplay will cause catastrophic wear to the pump gears and planetary bearings.
Critical 4R70W Torque Specifications
| Component | Fastener Size / Description | Torque Specification (ft-lbs) |
|---|---|---|
| Oil Pump to Case | 8mm x 1.25 Bolts | 10 - 14 ft-lbs |
| Valve Body to Case | 6mm & 8mm Bolts | 8 - 10 ft-lbs (Sequence Critical) |
| Extension Housing to Case | 12mm Bolts | 22 - 30 ft-lbs |
| Torque Converter to Flexplate | 10mm x 1.25 Nuts | 20 - 34 ft-lbs |
| Bellhousing to Engine Block | 12mm Bolts | 40 - 50 ft-lbs |
Pro-Tip: When tightening the valve body, use a calibrated inch-pound torque wrench and follow the factory spiral sequence. Overtorquing will warp the aluminum valve body casting, causing cross-leaks and burnt clutches.
Final Thoughts on Tuning and Fluids
Once the transmission is bolted behind the engine and filled with 13 to 14 quarts of high-quality Mercon V synthetic fluid, the mechanical overhaul is complete. However, the physical upgrades must be matched with software tuning. Using a tuning suite to adjust the PCM's shift pressure tables and shift timing parameters is mandatory. If you have installed a TransGo kit and heavy-duty clutches, the factory PCM line pressure curves will be inadequate, leading to slip during the 2-3 shift under wide-open throttle.
By investing in premium friction materials, addressing the intermediate sprag flaw, and executing a precision step-by-step assembly, your 4R70W will transition from a fragile factory unit into an unbreakable performance powerhouse.
For further reading on clutch pack tribology and friction material selection, consult the engineering resources at Raybestos Powertrain to ensure your rebuild kit components are matched perfectly to your specific torque converter stall speed and vehicle weight.