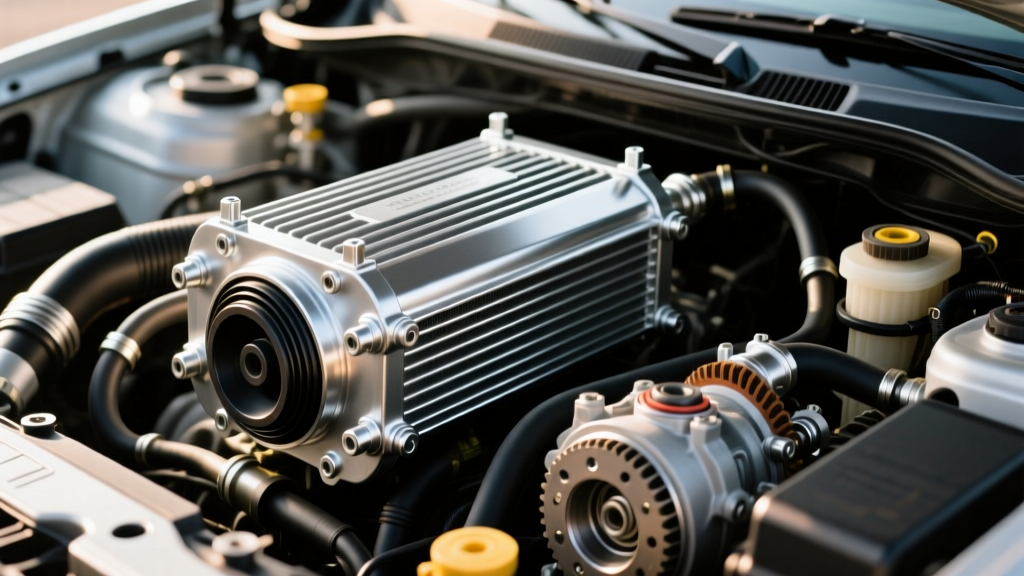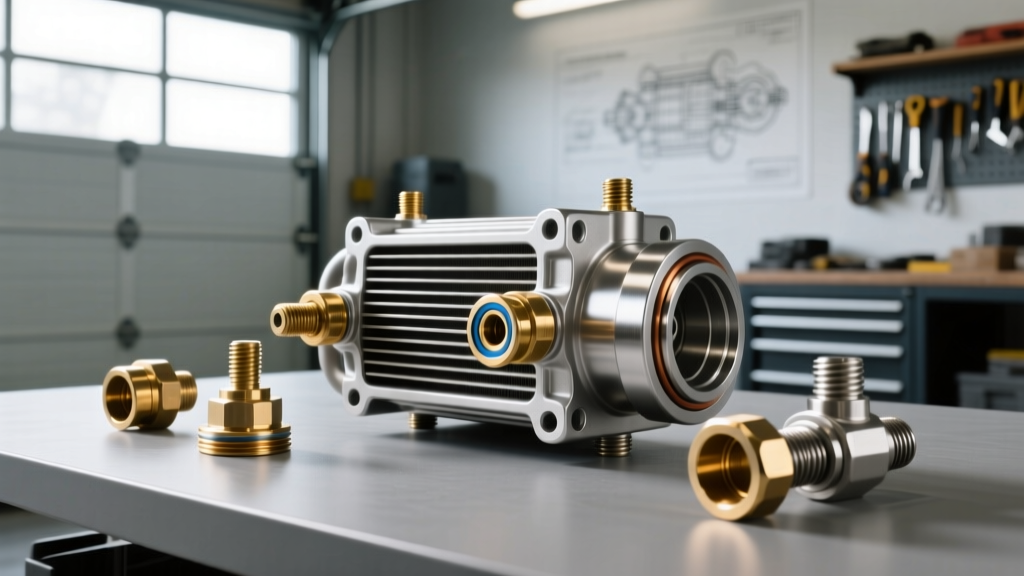
To remove transmission cooler lines from a transmission, locate the quick-connect fitting at the transmission housing, insert a quick-connect disconnect tool into the collar, and pull the line straight out. To remove transmission cooler lines without a specialized tool, carefully insert a small flathead screwdriver or pick into the fitting collar to depress the internal retaining tabs, then pull the line while wiggling gently. This guide is for DIY mechanics and vehicle owners addressing transmission overheating issues who need to flush, replace, or bypass their cooler circuits safely.
- Overheating above 220°F degrades automatic transmission fluid (ATF) and causes 90% of transmission failures.
- Standard removal requires a quick-connect disconnect tool to safely release internal retaining clips.
- No-tool removal is possible using picks or flathead screwdrivers, but carries a high risk of damaging the O-rings or retainer.
- Always drain the pan and prepare catch basins to handle 12 to 14 quarts of system fluid capacity.
Understanding Transmission Cooler Lines and Overheating
Transmission Cooler Line: A reinforced rubber or steel-braided hose routing hot automatic transmission fluid from the gearbox to the radiator or external cooler, dissipating thermal energy before returning the cooled fluid to the lubrication circuit. It is critical for maintaining optimal operating temperatures and preventing fluid degradation.
Quick-Connect Fitting: A spring-loaded mechanical coupling used in automotive fluid systems that allows hoses to snap together securely without threaded adapters, relying on internal retaining clips and rubber O-rings to maintain a leak-free seal under high hydraulic pressure. These require specific release mechanisms for disassembly.
Normal ATF operating temperature ranges between 175°F and 200°F. When temperatures exceed the 220°F thermal degradation threshold, the fluid begins to break down, losing its lubricating and hydraulic properties. According to automotive repair data, heat is responsible for nearly 90% of all automatic transmission failures. Removing the cooler lines is the first step in flushing degraded fluid, installing a larger external cooler, or replacing cracked 5/16-inch and 3/8-inch diameter lines that are restricting flow.
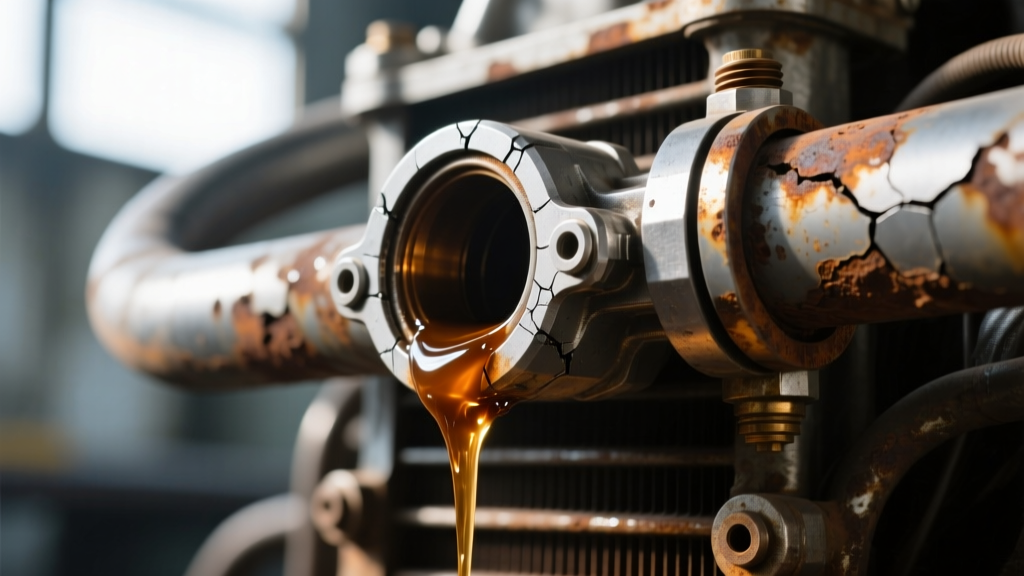
How to Remove Transmission Cooler Lines from Transmission (Standard Method)
The safest and most efficient way to disconnect cooler lines from the transmission housing is by using a dedicated quick-connect disconnect tool, such as the Lisle 39960 set. These tools are designed to slide into the fitting and evenly depress the internal retainer ring without damaging the delicate rubber O-rings.
Preparation and Access
Raise the vehicle using a hydraulic floor jack and secure it on jack stands. Place a drain pan capable of holding at least 5 gallons beneath the transmission area. Clean the fitting at the transmission case with brake cleaner to prevent dirt from entering the hydraulic system once disconnected.
Executing the Disconnect
Select the correct size disconnect tool (usually 1/2-inch or 5/8-inch for most General Motors and Ford applications). Push the tool firmly into the quick-connect collar until you feel it bottom out against the internal retaining clip. While maintaining inward pressure on the tool, pull the transmission cooler line straight outward. If the line is seized due to corrosion, apply a penetrating oil like PB Blaster and wait 15 minutes before repeating the process.

How to Remove Transmission Cooler Lines Without Tool
If you are on the road or lack a dedicated disconnect set, you can remove transmission cooler lines without a tool, though it requires extreme caution. This method relies on manually depressing the retaining tabs inside the fitting collar.
The Pick and Pry Method
Insert a small, rigid pick or a precision flathead screwdriver into the gap between the line and the fitting collar. You must feel for the internal metal retaining ring. Gently pry inward to compress the retaining tabs away from the line's grooved ridge. While holding the tabs depressed, have an assistant pull and twist the line outward.
Risks of the No-Tool Approach
The primary risk of removing lines without the proper tool is slicing the internal O-ring or permanently bending the retaining clip. If the retaining clip is damaged during extraction, the entire quick-connect fitting must be replaced to prevent catastrophic fluid loss under pressure. Furthermore, prying can score the metal line, creating a path for future leaks.
Comparison Matrix: Specialized Tool vs. No-Tool Removal
| Feature | Specialized Disconnect Tool | No-Tool (Pick/Screwdriver) |
|---|---|---|
| Safety Rating | High (Even pressure distribution) | Low (High risk of slip/damage) |
| O-Ring Preservation | Excellent | Poor (Frequently slices rubber) |
| Time Required | 1 to 2 minutes per line | 10 to 20 minutes per line |
| Corroded Fittings | Handles well with penetrant | Almost impossible to extract |
| Cost | $15 to $30 for a set | $0 (Uses existing tools) |
Step-by-Step Removal and Overheating Mitigation Checklist
Follow this checklist to ensure a safe removal process and address the root cause of your transmission overheating.
- Verify Fluid Level: Check the dipstick while the engine is idling to establish a baseline before dropping lines.
- Secure the Vehicle: Engage the parking brake and use jack stands; never rely solely on a hydraulic jack.
- Prepare Catch Basins: Position wide drain pans to catch the immediate spill from the 12 to 14 quarts of total system capacity.
- Clean the Fittings: Spray the transmission and radiator connections with aerosol brake cleaner.
- Disconnect the Lines: Use the disconnect tool or pick method to remove both the feed and return lines.
- Inspect the Cooler: Use compressed air to blow out the radiator cooler to check for internal blockages causing the overheating.
- Cap the Open Ports: Immediately plug the transmission case ports with rubber caps to prevent debris intrusion.
For more detailed guidance on maintaining your vehicle's drivetrain, refer to the AAA Transmission Maintenance Guide to understand how regular fluid exchanges prevent thermal breakdown.
Frequently Asked Questions
Do I need to drain the transmission to remove the cooler lines?
No, you do not need to drain the entire transmission pan to remove the cooler lines. However, you will lose the fluid contained within the lines and the radiator cooler, which typically amounts to 1 to 2 quarts. Always keep the transmission ports elevated or capped to prevent the main sump from draining out.
Why are my transmission cooler lines so hard to remove?
Lines become difficult to remove due to galvanic corrosion between the steel line and the aluminum transmission housing, or because the internal O-ring has vulcanized to the metal over years of heat cycling. Applying a dedicated penetrating fluid and allowing it to soak for 30 minutes usually resolves this.
Can I bypass the transmission cooler if it is leaking?
Bypassing the cooler by looping the feed and return lines together is a temporary emergency fix to get a vehicle home. Running without a cooler will cause the ATF to exceed 220°F within 15 minutes of highway driving, leading to rapid clutch pack failure. Always install a replacement cooler or auxiliary fan setup.
Conclusion and Next Steps
Knowing how to remove transmission cooler lines from the transmission is essential for diagnosing overheating issues and performing critical fluid flushes. While learning how to remove transmission cooler lines without a tool can save you in an emergency, investing in a proper quick-connect disconnect set will save your fittings from irreversible damage. Your immediate next step should be to inspect the removed lines for internal flaking, flush the radiator cooler with low-pressure compressed air, and refill the system with the exact manufacturer-specified synthetic ATF before starting the engine to check for leaks.