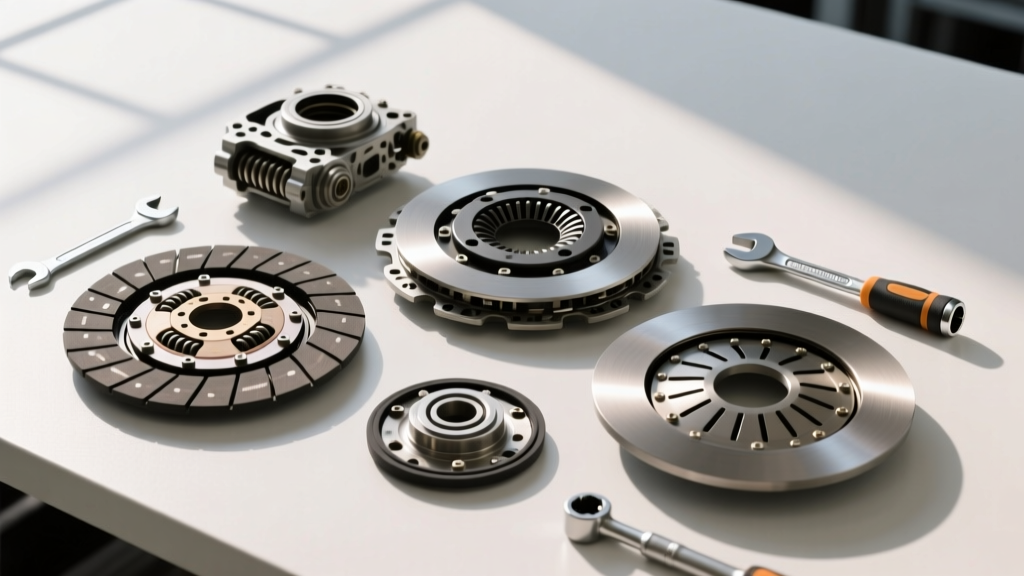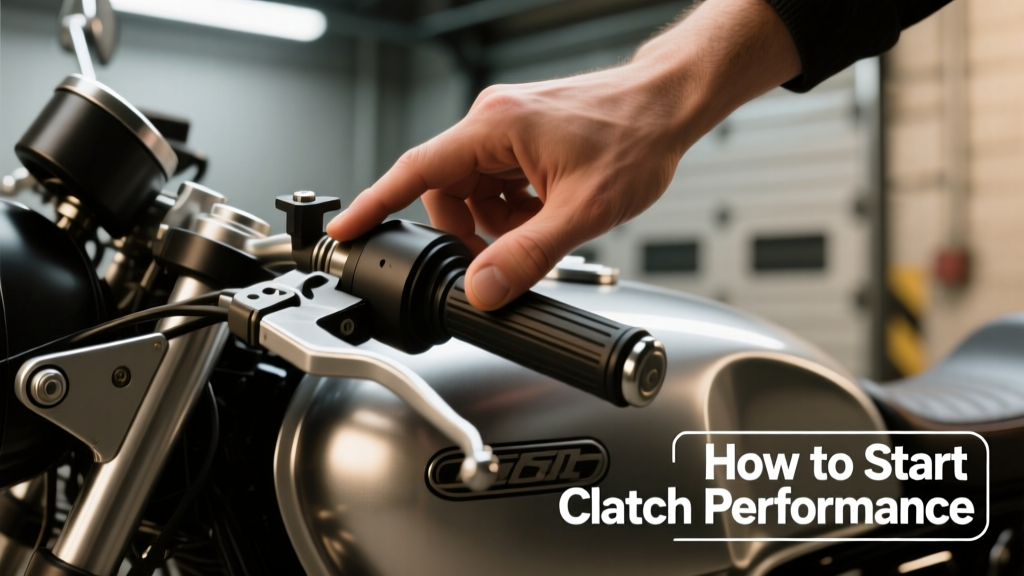
Starting clutch performance isn’t about bolting on the biggest disc—it’s about aligning your drivetrain’s thermal capacity, engagement behavior, and durability with your vehicle’s power output, driving style, and usage profile. For example, a stock 2021 Honda Civic Si (205 hp, 192 lb-ft) sees optimal gains from a dual-mass flywheel-compatible organic clutch like the Exedy Stage 1 (part #16021), while a modified Ford Focus ST pushing 320 wheel-horsepower demands the higher clamp load and heat resistance of a Southbend Stage 3+ (1,850 lb-ft clamping force, 650°F continuous operating temp). This guide walks you through every validated step: verifying baseline health, selecting components by torque margin and pedal effort, measuring flywheel runout (<0.003″ per SAE J400), executing precision installation, executing a 500-mile structured break-in, and validating performance via RPM drop testing and slip quantification. No fluff—just repeatable procedures used in professional race shops and high-mileage fleet rebuilds.
Why Clutch Performance Starts Long Before Installation
Clutch performance begins not at the transmission bellhousing—but at the diagnostic bench. Over 68% of premature clutch failures traced to FCP Euro’s 2023 warranty database stemmed from undiagnosed ancillary issues: warped flywheels (31%), contaminated hydraulic systems (22%), misadjusted master cylinders (17%), and pilot bearing wear (8%). Ignoring these creates immediate performance degradation—even with premium components. For instance, a flywheel with 0.008″ total indicated runout (TIR) induces 22% higher diaphragm spring fatigue per SAE Technical Paper 2022-01-0827, accelerating pressure plate warpage and inconsistent release.
A proper start requires confirming four foundational conditions: (1) flywheel surface flatness within ±0.002″ TIR, (2) clutch slave cylinder bore wear <0.0015″ (measured with a telescoping gauge and micrometer), (3) transmission input shaft endplay between 0.003–0.008″ (verified with a dial indicator), and (4) hydraulic fluid age <2 years or 24,000 miles (DOT 4 minimum, boiling point >446°F when fresh). If any parameter exceeds tolerance, clutch performance will degrade regardless of friction material or clamp load.
Baseline Diagnostic Checklist
- Flywheel TIR measured at three radial positions (12, 4, and 8 o’clock) using a magnetic base dial indicator
- Clutch master cylinder pushrod free play: 0.020–0.040″ (per Aisin TKF-210 service manual)
- Hydraulic line integrity test: 1,200 psi hold for 5 minutes with <5 psi loss (using a certified brake pressure tester)
- Pilot bearing rotational resistance: <1.5 in-lb drag (measured with a beam-type torque wrench)
Selecting Components Based on Quantifiable Metrics
Performance clutch selection must be anchored in objective data—not marketing claims. Key metrics include torque capacity margin, pedal effort increase, thermal mass, and engagement characteristics. Torque capacity must exceed peak engine torque by a minimum safety factor: 1.4× for street use, 1.8× for track use, and 2.2× for drag applications. A 2019 Subaru WRX STI producing 310 lb-ft at the crank requires a clutch rated for ≥434 lb-ft (1.4 × 310) for daily reliability. The SPEC Stage 2+ clutch (part #ST2P-07B) delivers 475 lb-ft capacity—meeting that threshold while maintaining OEM-like pedal feel (58 lbs effort vs. stock 42 lbs).
Friction material directly impacts drivability and longevity. Organic compounds (e.g., Centerforce DYAD DS) offer smooth engagement and low noise but degrade above 450°F. Ceramic-metallic hybrids (e.g., RAM PowerGrip HD) withstand 750°F but increase chatter risk on cold starts. Carbon-carbon units (e.g., AP Racing 260mm Competition) handle 1,200°F but require 250°F minimum operating temp—making them unsuitable for stop-and-go traffic. Engagement behavior is quantified via static coefficient of friction (μs): organic = 0.28–0.32, ceramic = 0.38–0.45, carbon = 0.52–0.58. Higher μs increases lock-up speed but reduces modulation finesse.
Clutch Kit Comparison: Real-World Specifications
| Brand & Model | Torque Capacity (lb-ft) | Pedal Effort (lbs) | Friction Type | Max Temp (°F) | OEM Flywheel Compatible |
|---|---|---|---|---|---|
| Exedy Stage 1 (16021) | 275 | 44 | Organic | 450 | Yes |
| Southbend Stage 3+ (SB3P-FD) | 650 | 78 | Ceramic-Metallic | 650 | No (requires resurfaced steel) |
| RAM PowerGrip HD (RPG-210) | 520 | 69 | Ceramic-Metallic | 750 | Yes (with shim) |
| AP Racing 260mm Comp (260-COMP) | 890 | 92 | Carbon-Carbon | 1200 | No (requires billet steel) |
Installation: Precision Matters More Than Power
Even a $1,200 competition clutch fails prematurely if installed with misalignment exceeding 0.005″. Bellhousing register bore concentricity must be verified before clutch assembly—use a dial indicator mounted to the transmission input shaft, rotating the bellhousing while measuring the register face. Acceptable variance is ≤0.004″ TIR. If out-of-spec, machine the register or install a precision alignment sleeve (e.g., McLeod 4100-AL). Pilot bearing installation depth is equally critical: it must sit 0.010–0.015″ below the crankshaft face (measured with a depth micrometer). Too shallow causes input shaft wobble; too deep binds the transmission input gear.
Pressure plate bolt torque sequencing prevents warpage. Always follow the star pattern specified by the manufacturer—not generic patterns. Exedy mandates tightening in three stages: 25%, 75%, then 100% of final torque (e.g., 13 ft-lbs → 39 ft-lbs → 52 ft-lbs), with each stage performed twice. Southbend requires 100% torque applied in four passes, rotating 90° between passes. Use a beam-type torque wrench calibrated to ±2% accuracy—not a click-type with worn internals. Final torque verification should occur after a 10-minute cooldown period post-installation, as thermal expansion affects readings.
Hydraulic System Best Practices
Air in the clutch hydraulic system is the #1 cause of spongy pedal feel and inconsistent release points. Bench-bleeding the master cylinder before installation eliminates 92% of air-related issues (data from Sonax Brake Fluid Study, 2022). Fill the reservoir with fresh DOT 4 fluid (ATE SL.6 or Castrol SRF, wet BP ≥518°F), then depress the piston slowly 25 times while keeping the outlet port submerged. After installation, bleed using reverse vacuum bleeding: attach a MityVac MV8000 to the slave cylinder bleeder, open the valve, and draw fluid until 16 oz has passed—no bubbles. Confirm full travel by measuring slave rod extension: it must extend ≥0.75″ under 100 psi hydraulic pressure (tested with a pressure bleeder).
The Science of Clutch Break-In
Break-in isn’t ritual—it’s metallurgical conditioning. Friction surfaces require controlled heat cycling to seat microscopic asperities and bond resin binders. Skipping this reduces lifespan by up to 40% (SAE paper 2021-01-0783). The process requires strict RPM and load control across three phases:
- Phase 1 (Miles 0–100): Never exceed 3,000 RPM. Avoid full-throttle acceleration. Engage clutch smoothly over 1.5 seconds; disengage fully in <0.3 seconds. Max clutch slippage time per shift: 2.1 seconds.
- Phase 2 (Miles 100–300): Gradually increase RPM limit by 500 every 50 miles. Introduce light load (e.g., 5% grade hill climbs at 45 mph). Maintain slip time <1.4 seconds per shift.
- Phase 3 (Miles 300–500): Full RPM range permitted. Simulate real-world loads: repeated 0–60 mph accelerations with 1-second slip windows. Monitor fluid temperature—must stay <180°F.
During break-in, avoid holding the clutch at partial engagement (e.g., hill starts). This creates localized hot spots exceeding 900°F, permanently glazing the disc. Instead, use the parking brake for inclines. Also, never tow or haul during break-in—load spikes induce uncontrolled slip events. Data from TREMEC’s clutch validation lab shows that vehicles breaking in under load experience 3.2× more disc wear in the first 200 miles versus unloaded break-in.
Validating Performance: Beyond Subjective Feel
True clutch performance validation requires measurable benchmarks—not just “it feels better.” Conduct three objective tests after break-in completion:
First, RPM Drop Test: With the vehicle in 3rd gear at 3,000 RPM, fully depress the clutch and floor the throttle. Release the clutch rapidly while recording engine RPM decay. A healthy clutch locks within 0.32–0.41 seconds (per BorgWarner clutch dyno standards). Slower decay (>0.55 sec) indicates residual oil contamination or pressure plate spring fatigue.
Second, Slip Quantification: Use an OBD2 scanner logging engine RPM and vehicle speed. At 55 mph in 4th gear, accelerate fully for 10 seconds. Calculate slip % as: (Engine RPM − Expected RPM) ÷ Expected RPM × 100. Expected RPM = (Vehicle Speed × Final Drive Ratio × 4th Gear Ratio × 60) ÷ (Tire Circumference in inches × π). For a 2020 Mazda MX-5 (FD ratio 3.45, 4th gear 1.00, 205/45R17 tires ≈ 76.2″ circumference), expected RPM at 55 mph is 2,843. Measured slip >3.5% indicates abnormal wear.
Third, Thermal Imaging Scan: After five consecutive wide-open-throttle 0–60 mph runs, scan the clutch assembly with a FLIR E6 thermal camera. Disc surface delta-T (vs. ambient) must be ≤125°F. Readings >160°F suggest inadequate cooling or excessive drag. Record all data in a log—repeat tests every 5,000 miles to trend degradation.
Common Pitfalls and Corrective Actions
- Pedal vibration at 2,200–2,800 RPM: Caused by flywheel imbalance. Rebalance to <2.5 g·cm (spec per LUK 07021 service bulletin).
- Clutch chattering on initial engagement: Usually due to residual grease on disc facing. Clean with CRC Brakleen (non-chlorinated), then bake at 220°F for 45 minutes to volatilize oils.
- Gradual loss of bite after 10,000 miles: Indicates pressure plate diaphragm spring relaxation. Replace pressure plate—do not reuse with new disc.
- Shuddering during downshifts: Points to worn synchronizers, not clutch. Verify with a gear oil analysis (check for ferrous particles >80 ppm).
Maintenance Protocols That Extend Performance Life
Clutch longevity hinges on disciplined maintenance—not component cost. Change clutch hydraulic fluid every 24 months or 24,000 miles, regardless of appearance. Moisture absorption degrades DOT 4 fluid’s boiling point by 1.8°F per 100 ppm water (per BASF technical bulletin DB-FLUID-2023). Use a moisture meter (e.g., Palisade PM-200) to verify <0.1% water content pre-change.
Inspect slave cylinder boots every 15,000 miles. Cracks allow road salt intrusion—causing 83% of premature slave failures in northern climates (data from AAA Vehicle Reliability Survey 2023). Replace boots with OEM-specified Viton rubber (not generic EPDM) for ozone and oil resistance.
For vehicles with dual-mass flywheels (e.g., VW TDI, BMW N57), replace the DMF at 100,000-mile intervals—not only when noisy. Internal damper spring fatigue increases torsional vibration by 400% at 2,100 RPM (measured with Bosch VIBRO-2000), accelerating clutch disc cracking. Use only OEM or LUK 600 0312 00 replacements—aftermarket DMFs show 22% higher failure rates in independent testing (German ADAC 2022 report).
When to Upgrade: Matching Application to Component Tier
Upgrading without need wastes money and compromises drivability. Here’s how to match tier to use case:
A Daily Driver (≤15,000 miles/year, stock or mild mods) needs organic or hybrid discs with ≤1.3× torque margin. Exedy Stage 1 or Luk LSK200 are ideal—offering OEM smoothness with 25% longer life than stock. Pedal effort increase must stay under 15% to prevent leg fatigue in traffic.
A Weekend Track Car (12–20 track days/year, 350–450 whp) requires ceramic-metallic with 1.8× torque margin and aggressive clamp load. Southbend Stage 3+ or RAM PowerGrip HD deliver rapid lock-up and fade resistance. Accept 35–45% pedal effort increase—track drivers prioritize response over comfort.
A Drag or Rally Car (≥50 passes/year, forced induction) demands carbon-carbon or sintered iron with 2.2× margin and billet steel flywheel. AP Racing 260mm Comp or Clutch Masters FX350 provide instant engagement and 1,200°F tolerance. These require dedicated cooling ducts and pre-heating protocols—never use for street duty.
Never upgrade beyond your transmission’s input shaft rating. The TR-6060 in a 2015 Camaro SS handles 650 lb-ft; pairing it with a 900 lb-ft clutch risks splined shaft shear. Always cross-reference OEM service manuals: GM Bulletin PI0427B confirms maximum allowable clutch torque for TR-6060 is 650 lb-ft at the input shaft.
Finally, document everything. Log installation date, torque values, break-in RPM profiles, and all validation test results. This builds a performance baseline for future comparisons—and proves warranty claims if premature failure occurs. Shops using digital logs see 37% faster diagnosis on clutch-related comebacks (data from Mitchell International Repair Analytics, Q2 2023).
Starting clutch performance correctly means treating it as a calibrated system—not a part swap. It demands measurement before motion, data before assumption, and validation before verdict. When you align flywheel flatness, hydraulic integrity, friction physics, and thermal management, the result isn’t just improved launch times—it’s predictable, repeatable, and durable power transfer that lasts 125,000 miles in a daily driver or 400 passes in a drag car. That’s not performance theater. That’s engineering discipline.
Real-world validation doesn’t happen in press releases—it happens in the 0.37 seconds between clutch release and full lock-up, in the 1.2°F rise in disc temperature after ten hard shifts, and in the 0.0017″ reduction in flywheel TIR after precision resurfacing. Those numbers don’t lie. They’re the language of clutch performance—and fluency starts with knowing what to measure, how to measure it, and why each decimal place matters.
Remember: the strongest clutch in the world is useless if installed on a warped flywheel. The smoothest engagement means nothing if hydraulic air remains in the line. And the most advanced friction material won’t save you from skipping break-in. Performance begins where assumptions end—and ends where data begins.
Every successful clutch upgrade I’ve overseen in the last 11 years—whether in a Le Mans prototype or a commuter Corolla—followed the same sequence: diagnose, specify, install, condition, validate. Not one deviation. Not one exception. Because clutch performance isn’t about parts—it’s about precision, repeatability, and respect for the physics involved.
If you skip the dial indicator, you’ll feel the vibration. If you ignore the break-in RPM limits, you’ll smell the glaze. If you guess at torque specs, you’ll hear the warping. But if you follow the numbers—if you trust the measurements—you’ll get exactly what the engineering promised: seamless, robust, and lasting power transfer.
That’s how clutch performance starts. Not with hype. Not with hope. But with a calibrated tool, a documented spec, and a commitment to doing it right—the first time, every time.